

There are a lot of ways you can monetize your blog. You can cover it in ads (although you shouldn’t!), promote products, sell your own items, and more. However, those are the same methods everyone uses and although they can work, it doesn’t hurt to think outside the box from time to time.
If you like sharing your knowledge with other people, there’s another option you can take a crack at, and that’s launching an online course of your own. If you can create a course people are interested in, it can even keep earning you money well into the future while you work on new projects.
In this article, I’m going to help you figure out if creating an online course would be the right fit for you. Then I’ll teach you how to launch an online course using WordPress in three steps. Let’s do it!
Who Should Consider Launching an Online Course
Creating a course and selling it is an entirely valid way of making money online. The real question is if it’s the right course of action for you. Generally speaking, you’ll need to know a subject inside and out if you want to teach someone else about it, so you have to ask yourself two questions:
- Is there a subject I know enough about to explain it to others?
- Is there enough interest in that subject to justify the effort of creating and marketing an online course?
That second question is particularly important. After all, if you know tons about peanut butter and different brands, people probably won’t pay to learn about it. However, if you can teach people about nutrition in general, then you have a market for your lessons.
Keep in mind – when we talk about launching an online course, we’re not referring to one-on-one lessons. Some people do teach via video calls, but in most cases you’ll want to set up learning materials people can peruse at their own pace. Those include guides, video tutorials, quizzes, homework, and more.
Before you embark on this journey, you’ll also need to set up a blog to host and promote your online course. If you’re not sure how to do it, check out our Start a Blog guide, which will guide you through the entire process.
How to Launch an Online Course Through Your Blog (In 3 Steps)
For this section, we’re going to use WordPress since the platform provides us with the tools we need to set up an online classroom without much fuss. Let’s get to work!
Step #1: Choose a Learning Management System (LMS) Plugin
As you may know, WordPress includes a plugin system that enables you to add sophisticated features to your site quickly. With the right plugin, you can turn your WordPress website into a forum, a store, and even an online classroom.
If you want to launch an online course, you’re going to need to use a Learning Management System (LMS) plugin. WordPress offers plenty of options in this regard, such as LifterLMS. This particular plugin enables you to set up multiple courses that can include quizzes, discussion areas, and more:

LifterLMS also lets your students set up profiles to keep track of their progress. You can even add more instructors to your online classroom and set up course prerequisites so students can advance through them in a logical fashion.
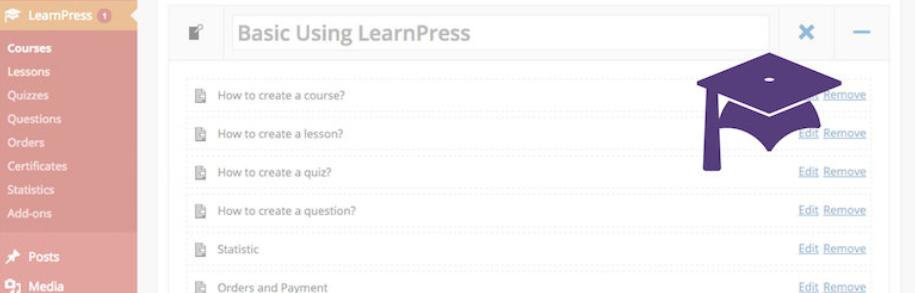
Another one of our favorite WordPress LMS plugins is called LearnPress. With this tool, you can create courses with almost all the same functionality as LifterLMS. The main difference, in this case, is LearnPress is fully free, and it offers a lot of add-ons for your online classroom:

For the next section of this tutorial, we’re going to use LearnPress to showcase what your next steps should be since it’s a free option and you may be on a tight budget.
Step #2: Configure Your Course Payment Options
After you install LearnPress, the first thing you’ll want to do is configure the plugin to work with whichever payment method you want to use.
To do this, go to the LearnPress > Settings > Payments tab. Inside, you will be able to choose if visitors can pay for your courses without registering on your website. This can work if you’re not planning on setting up multi-step courses or student profile pages. Otherwise, you’ll want to keep the option turned off:
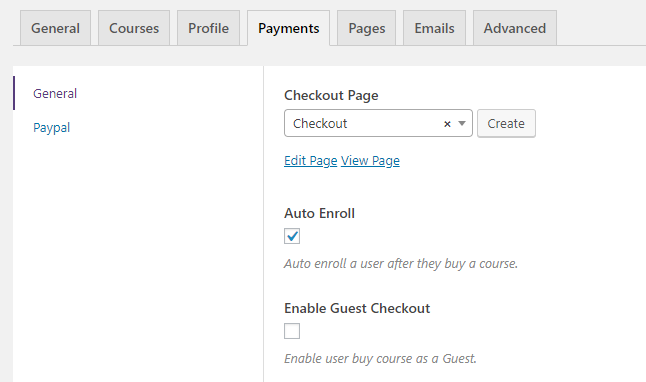

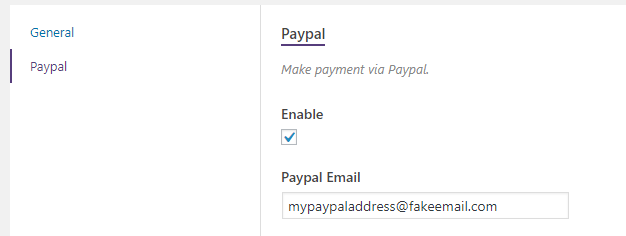
Next, scroll down to the bottom of the page and look for the Payments section. You’ll see the plugin includes PayPal as its default payment option, which works for us:
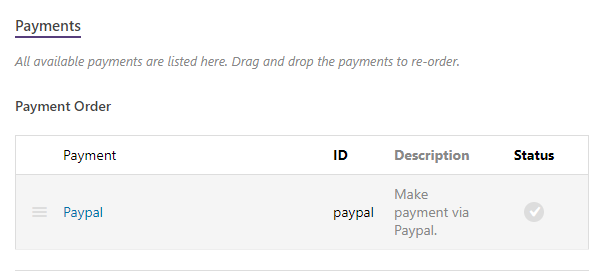

To configure your PayPal account to work with the plugin, click on the option above and hit the Enable button on the next page. Now the plugin will ask you to enter your PayPal email:

Save your settings and you’re good to go. Now it’s time to get working on your class materials.
Step #3: Start Working on Your Course Materials
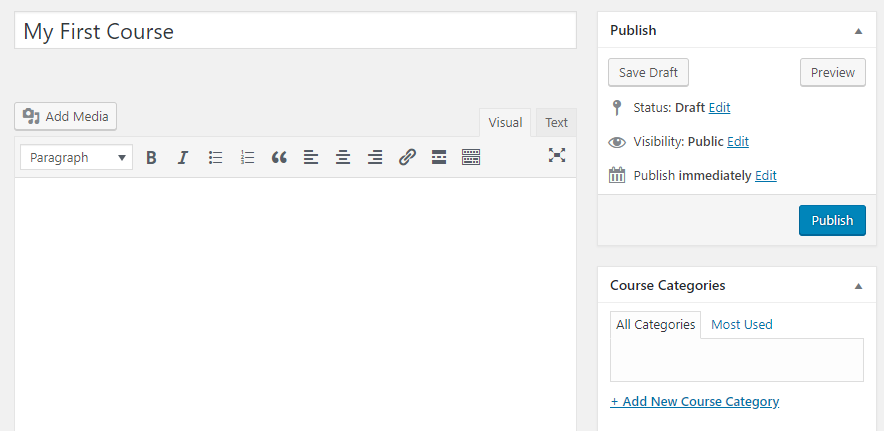
To create your first course, jump to the LearnPress > Courses tab, then click on the Add New option. LearnPress will enable you to set a title and a description for your course now, using the WordPress editor:

Below that, you’ll find a section called Curriculum. Here you can add the lessons that will make up your course by typing a name for each of them:


You can tweak the contents of each lesson by clicking on them and using the WordPress editor. Take as much time as you need now to craft at least one lesson, depending on what topics you want to cover.
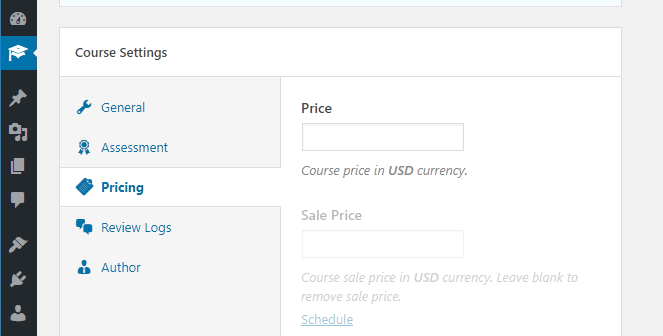
Once you have your first lesson ready, you’ll want to scroll down to the Course Settings > Pricing section. Here you can set a price for your course, which is all you need to do to start selling it:

Remember to publish your course now, and you’ll be ready to start marketing it. To that end, we recommend you send out an email blast to your subscribers and post about your new course on your social media pages. It may take a while before you get your first student, so in the meantime, keep working on fleshing out your course!
Conclusion
Creating an online course people are interested in and willing to pay for takes a lot of work. However, if you put in the effort, you can use your blog to market that course and keep earning money well into the future. You will, of course, have to update your course (pardon the pun!) from time to time. However, that’s to be expected if you don’t want your materials to become outdated.
If you’re using WordPress, learning how to launch an online course is simple:
- Choose an LMS plugin.
- Configure your course payment options.
- Start working on your course materials.
Do you have any questions about how to launch an online course using WordPress? Let’s talk about them in the comments section below!
Image credit: Pixabay.