

If there’s one thing we can all agree on, its that popups are one of the worst parts of the internet experience. Without an ad-blocker, popups and ads do a great job of ruining a lot of amazing websites. However, certain kinds of popups actually work wonders for conversions if you know how to use them.
Exit popups are one such example. They boast amazing conversion rates, and depending on how you set them up, they don’t even need to open up a new window, so they can be less intrusive.
In this article, we’re going to talk more about how exit popups work and why they’re so effective. Then I’ll teach you how to create WordPress exit popups in three simple steps. Let’s get to it!
What Are Exit Popups (And Why They Work)?


You’re already familiar with popups. They’re those annoying little windows that used to show up in your face on almost every website you visited. For a while, using the internet was almost physically painful. Thankfully, adblockers came to the rescue and now – if you’re using a good one – most obtrusive ads and popups should be a thing of the past.
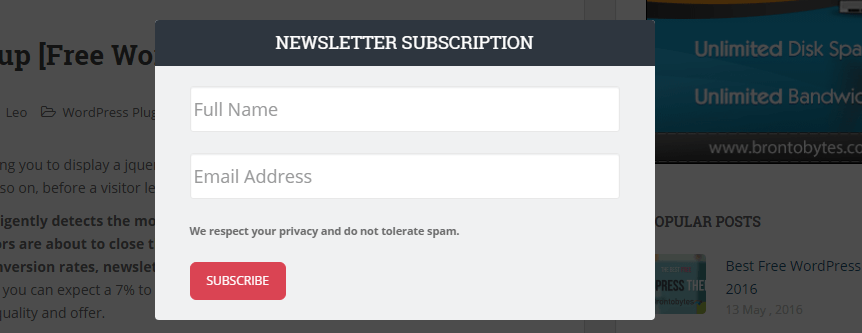
Nowadays, the popups you see sometimes are very different from what they looked like back then. We call them modals because they’re usually elements that don’t open in their own windows. For example, exit modals are elements that show up when you’re on your way to leaving a page, like the example at the beginning of this section.
That can sound annoying on paper, but exit popups or modals can be incredibly useful. Let’s break down why:
- They boast great conversion rates for email signups.
- They’re much less intrusive than classic popups.
- You can design them any way you want, so they feel like elements of your page rather than cheap advertising.
- You can use them to advertise your own products and offers.
If you read the blog often, you’ll know we’re big fans of email marketing. Usually, I tell people they should start building their email list as soon as they start a blog. Once you have a few hundred emails in your list, getting conversions becomes much simpler, so anything that can help you get there is welcome.
However, you need to strike a fine balance with exit popups if you want to reap their benefits. Make yours too annoying or difficult to close and visitors will get angry about it. Plus, most successful WordPress exit popups work because they offer visitors something of value.
For example, if you offer a free eBook in exchange for email signups, you’ll get a lot more bites than just begging people for their contact info. With this type of element, I recommend doing some A/B testing until you land on a formula that works for you.
How to Create WordPress Exit Popups (In 3 Steps)
For this section, I’m going to teach you how to create WordPress exit popups using a very straightforward plugin. Let’s start by introducing it.
Step #1: Set Up and Configure the Exit Popup Plugin
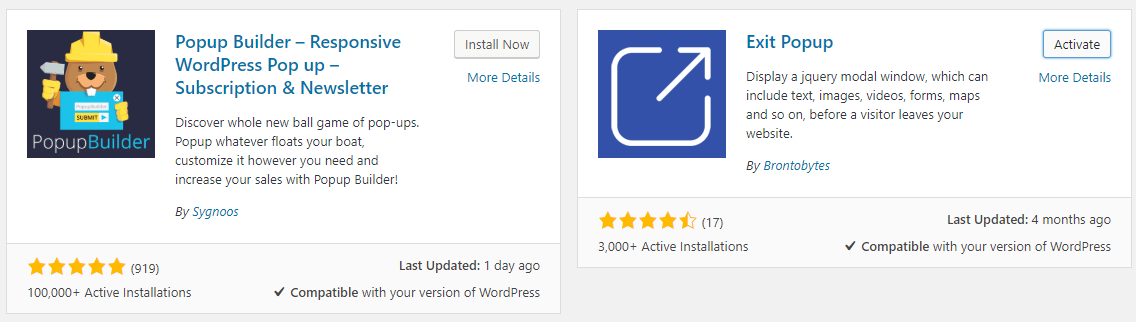
There are a lot of WordPress plugins you can use to create popups and exit modals. However, I’m a fan of Exit Popup due to its simplicity, although you do need to know some basic HTML to use it:


To set up the plugin, go to your WordPress dashboard and jump over to the Plugins > Add New tab. Inside, use the search bar to look for the Exit Popup plugin and click on the Install Now button next to its name:

Give WordPress a few seconds to install the plugin now. When it’s ready, click on the Activate button and then move on to step number two.
Step #2: Create Your First WordPress Exit Popup
To create your first popup, go into the new Settings > Exit Popup tab on your dashboard. Inside, you’ll be able to configure all your popups settings right away.
One negative thing about this plugin is it doesn’t enable you to configure unique WordPress exit popups for different pages. However, it does give you full control over most other settings, so it’ll do the trick. Plus, almost every other WordPress exit popup plugin out there is pay-to-play, which gives this one an edge.
First off, let’s set the Cookie Expire days to a reasonable number, such as 30. That way, if someone closes your exit popup, it won’t bother them again for a while:


Now configure the width and height for your exit popup in pixels. You’ll likely end up tweaking this value again later once you see your exit popup in action, so don’t worry if you’re not sure what numbers to use yet.
Moving on, it’s time to set a title and a footer for your modal. Then, you can go ahead and build the popup itself using HTML and CSS:


To be fair, this can be tricky if you’re not used to HTML. However, the example the plugin includes right below the field is a great starting point which you can tweak to fit your needs. In either case, I suggest you read up on these basic guides to HTML and CSS, which will come in very handy for running your own blog.
When you’re done, save the changes to your popup and then we can go ahead and test it.
Step #3: Test if the Popup is Working Correctly
You probably noticed the plugin doesn’t include any settings to change when the popup will show up. However, during my tests, I found its default settings are pretty accurate when it comes to detecting ‘exit intent’.
By exit intent, I mean the behavior of users about to leave one of your pages. The way the plugin detects this has to do with how they move their mouse around. For example, when you scroll to the bottom of a page and then move your mouse in the direction of the X button to close that tab, that signals exit intent. When the plugin detects that, it’ll display the exit popup you designed in the previous step:

At this stage, what you want to see is if your WordPress exit popup looks as you want it too. It can be tricky to get the style right if you’re new to using HTML and CSS, so take your time until it’s perfect. Remember this is an element all your users will see, so a little extra work will pay off greatly in the long run.
Conclusion
Exit popups are a great way to remind people to sign up to your email list, which should be one of your primary goals when running a blog. As long as you use something that isn’t intrusive, your conversions should increase by a lot after adding WordPress exit popups.
If you’re using WordPress, you can create simple exit popups in three steps:
- Set up and configure the Exit Popup plugin.
- Create your first WordPress exit popup.
- Test if the popup is working correctly.
Do you have any questions about how to create WordPress exit popups? Let’s talk about them in the comments section below!
Image credit: Pixabay.