
A WordPress editorial calendar enables you to keep your blog’s content schedule organized. Using one, you’ll be able to check out all your upcoming posts at a single glance. If you’re working with a team, it provides a structure to see who’s working on what. More importantly, it will be easier to spot holes in your calendar and correct them if needed.
In this article, I’ll show you exactly how editorial calendars can help you build a successful blog faster. Then I’ll teach you how to set up a WordPress editorial calendar in three short steps. Let’s get to it!
What an Editorial Calendar Is (And Why You Need One)

We’ve already talked about editorial calendars in the past. They’re simple schedules of who’s writing which article, when it’s due, who’s editing it, and anything else you can think of that falls within the same ballpark.
Personally, I’m not much of a calendar person. Every time I try to add all my errands to a calendar, I end up never checking it. However, I do keep an editorial calendar of my own that’s just for my writing duties, and it comes in handy for several reasons:
- It enables me to see what my blog’s calendar looks like at a glance.
- It helps me plan content over the long term by checking out what topics I’m covering each week.
- If I had any co-authors, they could check it to stay on top of their own posts.
- I can easily re-arrange content around the calendar to shore up slow weeks or publish an extra post if necessary.
To be fair, editorial calendars can be overkill for small blogs. I’m talking about the kind of websites that publish one or maybe two articles per month. However, if you’re posting articles weekly, scheduling them in advance using a calendar can only help you. Plus, it’s good practice for when your blog makes it to the big leagues and you’re publishing multiple articles per week.
If you’re working as part of a team, then an editorial calendar becomes a lot more necessary. Without one, it can be challenging to keep track of who’s writing what and when each post is due. In other words, using a calendar is almost always a great idea!
On the other hand, if you’re still in the process of starting your blog, there are other pressing matters you’ll want to take care of first. We can help you get the right foot forward through our Beginner Blogging course, which will teach you all the basics of WordPress writing.
How to Create a WordPress Editorial Calendar (In 3 Steps)
There are a plenty of online services you can use to create and manage an online calendar. However, I’m a big fan of WordPress since it’s the platform I use in my day-to-day work and the one we recommend for new bloggers. If you’re using WordPress, you’ll want to get to know the Editorial Calendar plugin, which is the one I’ll use for this section.
Step #1: Install the Editorial Calendar Plugin
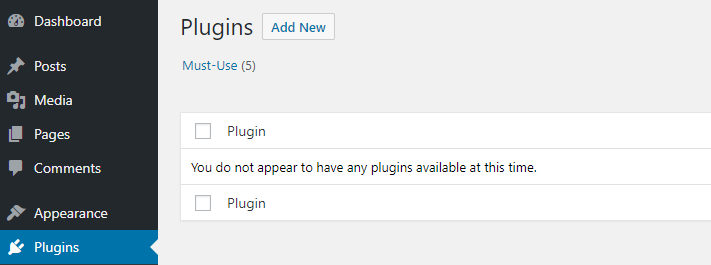
Installing a WordPress plugin is simple, but I’ll walk you through the process in case you’re new to it. First, you’ll need to access your WordPress dashboard and look for the Plugins tab. Inside, you’ll find a button that reads Add New – right near the top of the screen:

If you click on it, a new page will appear showcasing a list of plugins. Ignore those for now and type Editorial Calendar on the search bar to the right of the page. The plugin should show up as the first result now:
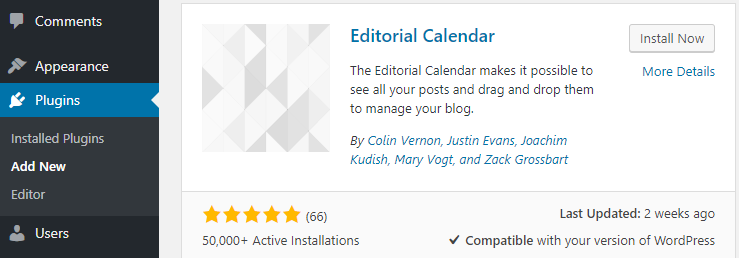

Click on the gray Install Now button then give it a few seconds. When the button changes to a blue one that reads Activate, click on it once more. You just installed your first WordPress plugin, so go ahead an pat yourself on the back!
Step #2: Add New Items to Your Calendar
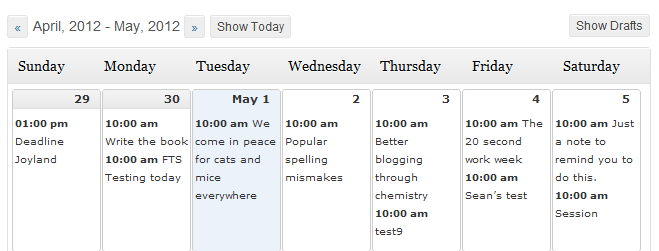
My favorite thing about the Editorial Calendar plugin is how straightforward it is. There are no frills or complicated configuration settings to take care of before you can use it. You can just jump to the new Calendar tab under Posts and get right to work:
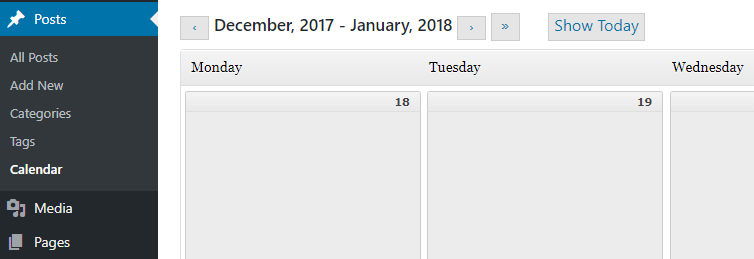

To add an item to your calendar, you only have to click on the New Post button on the day you want to place it:
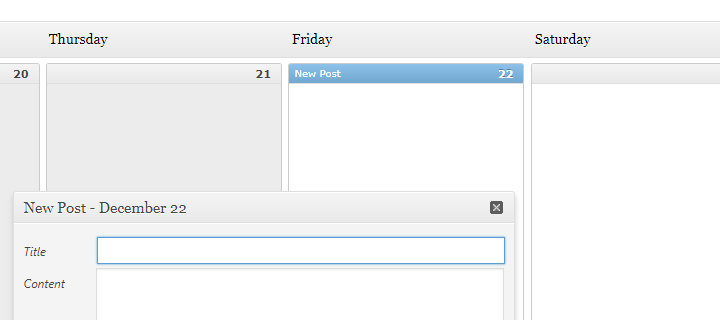

Then a new window will pop up where you can set the title for your post and get a head start writing. In most cases, you’ll just want to create the item then write it using the regular post editor, though. Before you confirm your new addition to the schedule, be sure to set a time for it (to be published automatically) and set its status (to Draft, Pending Review, or Scheduled):
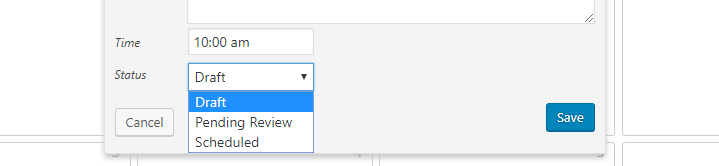

If you set the post’s status to Scheduled, it’ll publish itself once it hits the time you set earlier. Drafts, on the other hand, will require you to publish them manually. In any case, once the post is on the schedule, you can mouse over it to access the editor, delete it, or preview it:


Finally, you can drag and drop items around the calendar if you want to re-arrange your schedule, so keep that in mind since it’s a feature you’ll probably use a lot.
Step #3: Assign Tasks to Other Authors
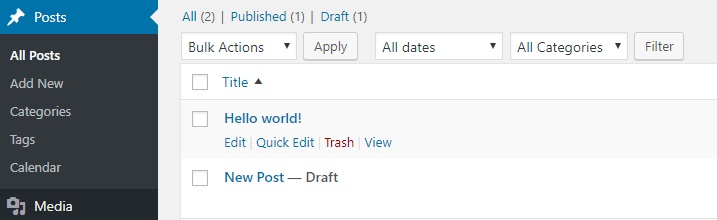
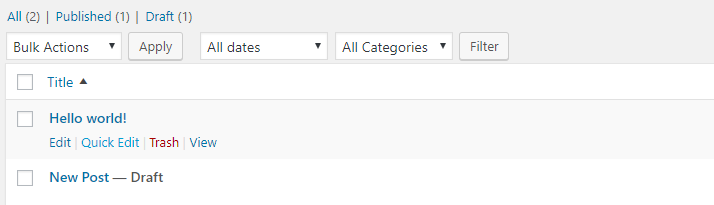
By default, whoever adds a new item to the editorial calendar becomes its author. If you want to change that, you’ll need to go to the Posts > All Posts tab and look for that item in the list within:

Once you find it, mouse over it and click on the Quick Edit button:

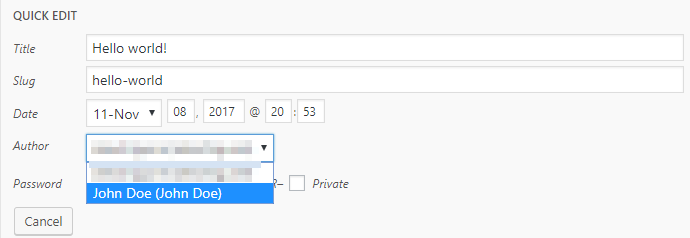
A new menu will appear now and you can use the Author list to reassign the piece to whomever you want:

By now, you know how to add new items to your calendar, edit and move them around, and assign them to new writers. You’re all set to start your own WordPress editorial calendar!
Conclusion
Editorial calendars are an excellent tool to help you manage the content it takes to grow a blog. The more content you put out consistently, the harder it can be to keep track of publishing dates or who’s working on what. Both of those are problems you can easily solve with a calendar.
When it comes to WordPress – our blogging platform of choice – using a plugin is often the easiest way to implement complex new features. In this case, I recommend you use the Editorial Calendar plugin and follow these three steps:
- Install the Editorial Calendar plugin.
- Add new items to your calendar (and move due dates around as needed).
- Assign tasks to other authors if you’re working with a team.
Do you have any questions about how to use a WordPress editorial calendar? Ask away in the comments section below!
Image credit: Pixabay.