
Sometimes when you do a Google search, you’ll see results that show images, ratings, and other types of elements aside from text. Those are called ‘rich snippets’ and using them can help draw more attention and traffic to your blog.
The good news is anyone can create rich snippets for their site’s content. All it takes are a couple of steps, and the process is much easier if you’re using WordPress, which is our blogging platform of choice.
In this article, we’re going to talk a bit more about what rich snippets are and why you should care about them. Then I’m going to walk you through three simple steps to create rich snippets for blog posts. Let’s get to work!
An Introduction to Rich Snippets
Rich snippets are what we call Google results that display additional elements aside from text. Here’s an example, which showcases both an image and a star rating:
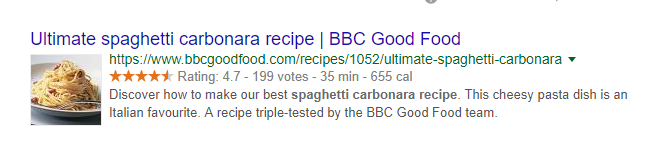

If you had to choose between two similar search results, one with those additional elements and one without, chances are you’d pick the former. That’s to be expected since rich snippets make for more compelling results. In other words, using rich snippets can increase your click-through rates from search engines.
The problem is, Google doesn’t generate rich snippets for your content on its own. For them to appear, you need to add ‘structured data’ (or schema) markup to your pages. That’s a fancy way of saying you need to add a little code to your pages, so Google knows what type of rich snippets to generate for them.
This process is simple, but it can be intimidating if you’re new to blogging. In the next section, we’ll go over how you can add schema markup to WordPress the easy way. If you’re not sure how to get your WordPress blog up and running, though, we recommend you check out our Start to Blog guide first.
How to Create Rich Snippets for Blog Posts (In 3 Steps)
In practice, you can add schema markup to any of your pages manually. However, if you’re using WordPress, the process becomes much simpler since you can let plugins do the heavy work.
For this particular feature, we recommend using the All In One Schema Rich Snippets plugin, which we’ll show you how to set up right now.
Step #1: Install and Configure the Plugin
Installing plugins in WordPress is dead simple. Go ahead on log into your dashboard now, then jump to the Plugins > Add New tab. Inside, you’ll see a list of some of WordPress’ most popular plugins. Ignore them for now and use the search bar to the right to look for the All In One Schema Rich Snippets plugin:
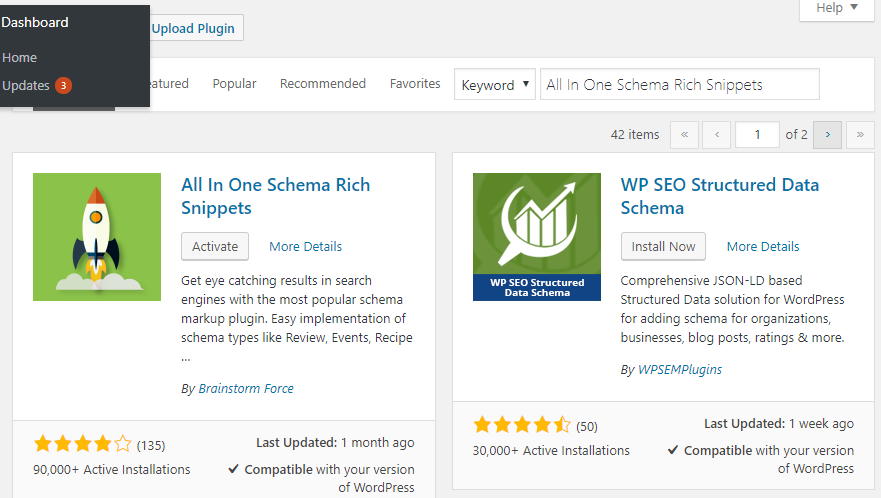

Once you find the plugin, click on the Install Now button next to its name. Wait until WordPress works its magic and then that button will turn into a new option that says Activate. Click on it and you’re good to go.
As soon as you activate the plugin, it will redirect you to its welcome screen. From here, you can jump to the Configuration tab, which showcases the rich snippet options the plugin includes:
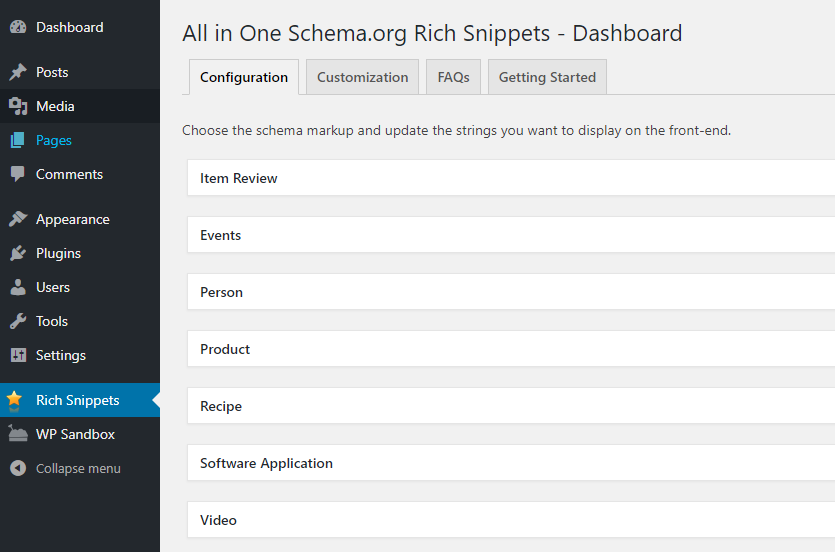

You can click on each of those tabs to see the markup they enable you to add to your content. For example, the Recipe option includes recipe names, cooking times, ratings, and more:
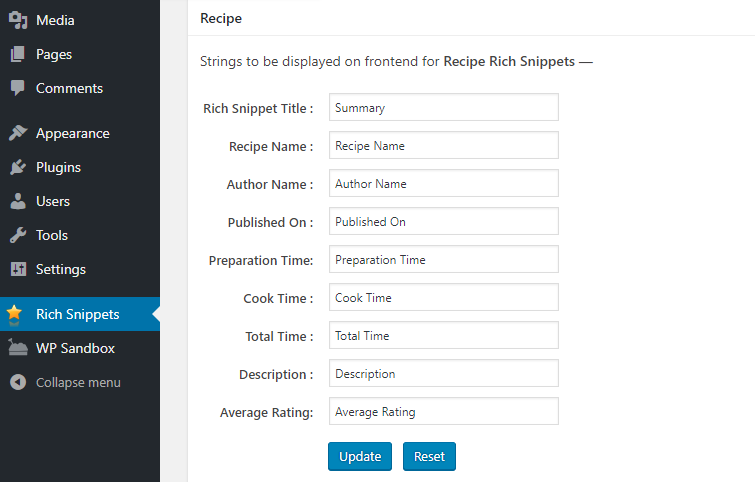

At this stage, you can change the labels for any of the fields you want to use. Once you’re done, save those changes and move on to step number two.
Step #2: Generate a Rich Snippet for One of Your Blog Posts
Once the plugin is ready, choose whichever post you want to generate a rich snippet for. The plugin enables you to do this for as many posts as you want, so don’t worry about which one you pick first.
Open the editor for the first post you want to add schema markup to and scroll down until you see the Configure Rich Snippet option:
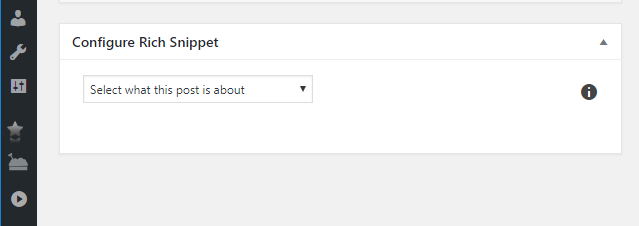

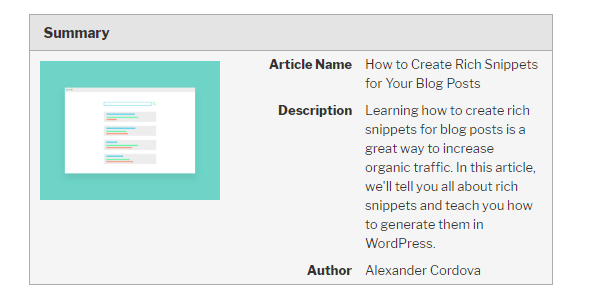
Go ahead now and pick which type of category your post falls under. For example, this post would fall under the Article category, which gives you these fields to work with:
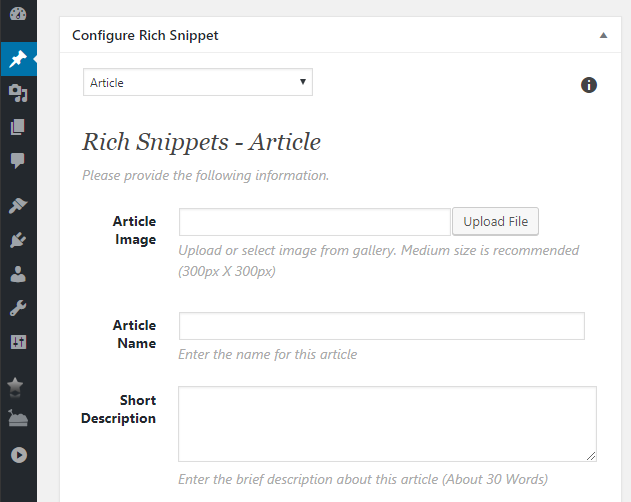

Go ahead and fill out each field now. For your article image, we recommend using the same one you feature in WordPress. You can skip some of the fields if you want to, but at the very least, we recommend filling out the Article Name, Short Description, and Author values.
When you’re done, save the changes to your article and you are good to go. All that’s left to do is check if the markup you added to your article is working as intended.
Step #3: Test Your Rich Snippets
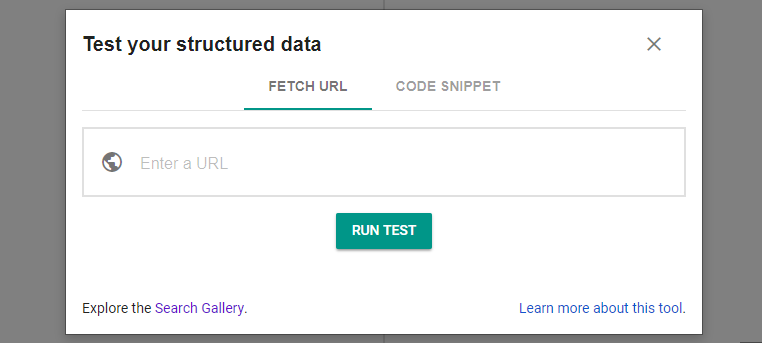
To test if your markup is working, we’re going to use the Google Structured Data Testing Tool. With this service, you can just type an URL and Google will go ahead and check if there are any errors in its markup:

If there are no errors, the tool will return you with a Preview option, which you can see below:


Clicking on the Preview button will show you a simulation of what your page’s rich snippet would look like from Google’s search results page, like this:

If everything looks good at this stage, then you’re good to go. Your next move should be to go through your archives and get to work on adding schema markup to all your most popular posts. That way, you’ll be able to increase their clickthrough rate even further, and you should start seeing more traffic shortly after that.
Conclusion
If your blog focuses on the type of content you can create rich snippets for, then there’s no reason not to do it. With rich snippets, your blog posts will stand out in the SERPs and if you can write a good meta description, then your traffic should grow accordingly.
Plus, creating rich snippets for blog posts is pretty easy if you’re using WordPress. In fact, you can do it in three steps:
- Install and configure the All In One Schema Rich Snippets plugin.
- Generate a rich snippet for one of your blog posts.
- Test your rich snippets.
Do you have any questions about how to use schema markup to create rich snippets? Let’s talk about them in the comments section below!