

Growing a blog until it becomes successful is plenty difficult, never mind if you’re trying to do the same for multiple websites at once. However, if you’re using WordPress, running various blogs simultaneously is simpler thanks to Multisite.
With Multisite, you can manage multiple WordPress websites (hence the name) from a single dashboard. That means less time spent jumping from blog to blog checking if everything’s okay, and more time you can use to write new posts.
In this article, I’ll walk you through what Multisite is and when it makes sense to use it. Then I’ll teach you how to set it up from scratch. Let’s get started!
An Introduction to WordPress Multisite
When you set up WordPress, the Content Management System (CMS) will ask you if you want a regular installation or a Multisite network. A Multisite network is a type of setup that enables you to manage multiple blogs from a single dashboard. The options you’ll find within are different from a regular installation, but still easily recognizable if you’ve used WordPress before:


Sure, you could always set up completely separate blogs on different servers, with their own WordPress installs. Here’s why Multisite can be a better option in some cases, though:
- It enables you to run multiple blogs from a single dashboard.
- You can use one hosting plan for all your websites.
- You can update all your site’s plugins and themes in one go.
Ultimately, Multisite is all about convenience, and it’s a great option if you have a lot of blogs under your belt. That’s a lot more common than you might imagine too. In fact, there’s a whole family of tools and services dedicated to helping run multiple WordPress websites more efficiently.
A lot of those services, however, are pay-for-play, which is to be expected. With Multisite, you don’t need to spend a thing to get access to its features. That is, on top of what you’re already paying for hosting.
When It Makes Sense to Use WordPress Multisite
In my experience, it’s easy enough to manage one or two blogs without any additional tools. All you have to do is jump from one dashboard to another, make sure everything is up to date, and you’re good to go.
However, if you have more than two websites under your belt, then it makes sense to start looking into tools such as Multisite. As I mentioned before, you have lots of other options. However, it makes sense to try the built-in (and free) WordPress tool before you commit to spending any more money.
You also need to factor in what type of website you’re running into your decision. Ultimately, Multisite works best when it comes to blog networks. However, if you’re running sites with more complex functionality – such as online stores – you’ll need more advanced tools.
Finally, it’s also critical to note that moving existing WordPress websites into a Multisite network takes work. The process is a bit more involved than, for example, migrating a WordPress site from one web host to another.
If you’re comfortable tinkering with WordPress, then that shouldn’t be an issue. However, if you’re not, then you’ll probably have to pay someone to move your blog(s) into the Multisite network.
How to Set Up WordPress Multisite (For New and Existing Blogs)
In this section, we’ll talk about how to create a new Multisite network from scratch. I’ll also walk you through adding new blogs and importing existing ones, so we cover all our bases. Let’s get to it!
Setting Up Multisite and Adding New Blogs to the Network
Setting up Multisite is the easy part. Most web hosts will ask you whether you want to use a simple install or Multisite while setting up WordPress:
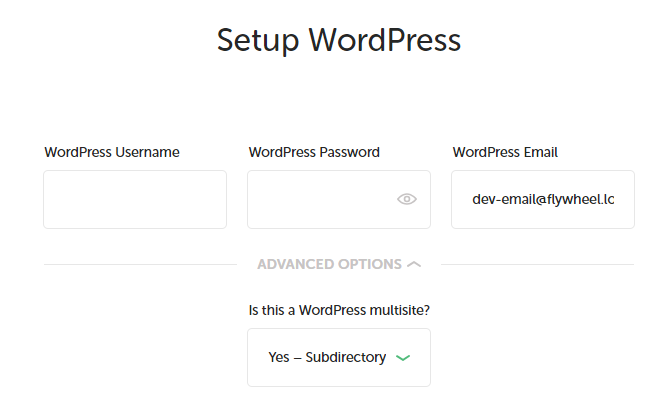

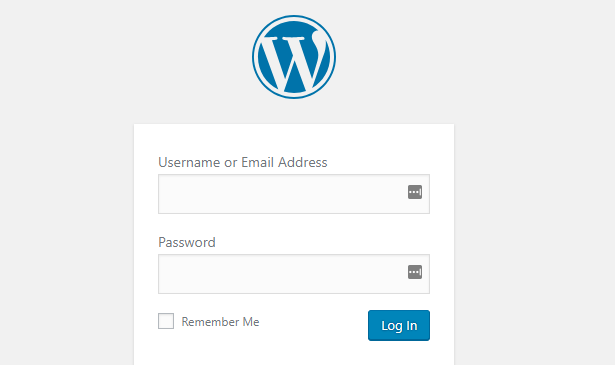
All you have to do is tick the Multisite option, and the installer should do the rest. Then, you can log into your network just as you would a typical WordPress website:

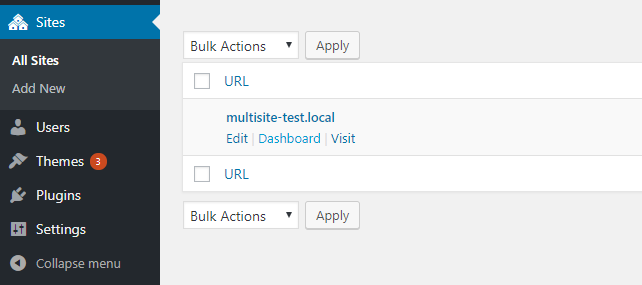
Once you log in, you’ll notice the dashboard looks much the same as usual. However, there are a few more options thrown in. Let’s navigate to the Sites tab, for starters. Here, you’ll find a list of all the sites under your network. Right now, there’s just one site within your network. Notice that if you mouse over it, you’ll see a Dashboard link, which you can use to jump over and manage that site:

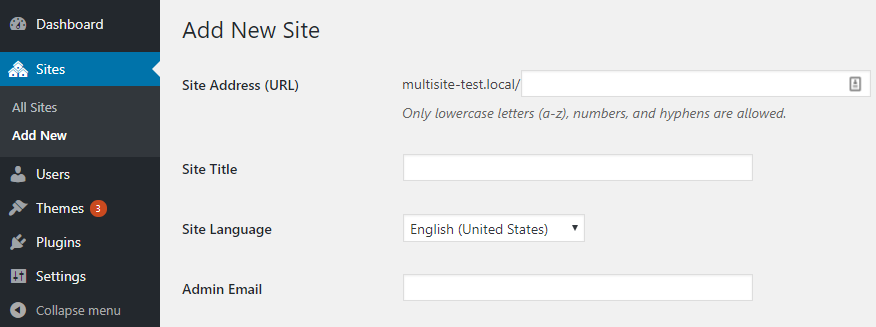
To add a new blog, click on the Add New button at the top of the screen. On the next page, you’ll be able to set an URL for your site, a title, its language, and your administrator email:

Once you type down all that information, click on the Add Site button and you’re good to go. Now, that second website will appear under the Sites tab within your network dashboard:
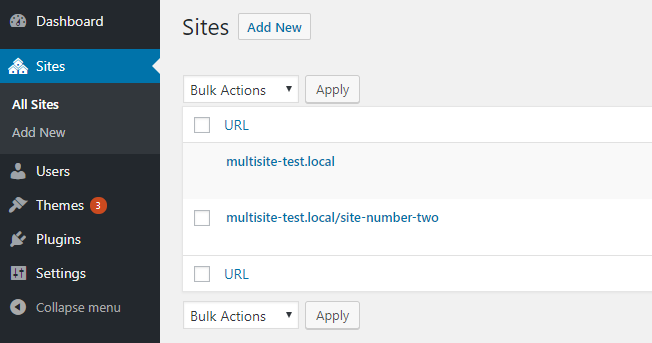

Now, you can manage both sites as usual, and use your Multisite dashboard to jump between each one. Keep in mind, though – you need to add new plugins and themes through the Multisite dashboard. Each plugin or theme you install will become available to all the sites on the network. Then, you can choose on which blogs to use them.
Importing Existing Blogs Into a Multisite Network
As I mentioned earlier, this process is a bit more involved. Usually, you can migrate a website pretty easily using plugins or just by moving files over. However, the way Multisite networks are set up makes things a bit more difficult.
To achieve this, you’ll need to use FTP to move files manually, and the process involves a few steps. Since there’s some serious work involved, I recommend you check out this guide which covers all the steps involved (including handy screenshots).
Conclusion
If you’re new to the world of blogging for an income, I wouldn’t recommend running multiple sites at once. Instead, it makes more sense to start a single blog, put your focus into it, and learn as much from the process as possible.
At some point, after your blog gains traction, running the show becomes much more straightforward. Most of what you’ll do is keep up with email marketing and publish new posts. That means you’ll have time to start one or more other blogs to diversify your income, and that’s where knowing how to use Multisite can come in handy.
Do you have any questions about how to use Multisite? Let’s talk about them in the comments section below!