

But I’m no graphic designer – far from it. So how do I go about taking top quality screenshots?
It turns out that this is more complicated than one might think. You want to offer up a beautiful screenshot, but you don’t want the file to be so big that it takes an age for the image to download.
My solution serves up crystal clear screenshots that are far less resource-intensive than you might imagine. In this post I’ll show you the difference between my process and a ‘standard’ JPEG image, then give you instructions to achieve the same effect.
Before and After
Before I show you how to take perfect screenshots, I’ll demonstrate the results of my process.
We’ll start with the original:


The image above has not been resized or compressed in any way. As you would expect, it is enormous (nearly one megabyte), so it may have taken some time to download, depending upon the quality of your connection. Sorry!
Now here’s a screenshot of average quality, the likes of which you will have seen all over the internet:

The above image weighs in at a relatively featherweight 61kb. It’s okay, but you can clearly see the compression ‘artifacts’, and the image obviously isn’t HD quality.
Now here’s my optimized version:

This image weighs in at 225kb – still pretty hefty, but about a quarter of the original size.
Here’s a comparison of the uncompressed image (930kb) versus my version (225kb):

You might just be able to guess which side is the original, but only when you can see both images side-by-side and take some time to scrutinize them.
With my method, we’re getting crystal clear images with an enormous reduction in file size. 225kb is still fairly big, but on plenty of occasions I’ve taken screenshots that optimize down to well under 150kb (and sometimes to double figures). The inclusion of the photograph in the above screenshot is what pushes the file size up.
So, how do you achieve near-perfect results while reducing image file size enormously?
My Process for Taking Perfect Screenshots
Note: I use a Mac, but the following process can be adapted for PCs too.
In my experience, there are two simple principles to creating high quality screenshots:
- don’t resize your screenshots, and
- use a high quality image optimizer.
It’s really no more difficult than that.
Step 1
Take a screenshot with your Mac using either:
- Command + Shift + 3 – this takes a shot of the entire screen.
- Command + Shift + 4 – this enables you to take a screenshot of a specific area of the screen.
This will save a PNG image to your desktop.
To achieve the same on a PC, I found this article.
Step 2
Upload the image to TinyPNG for processing. Doing so will reduce the file size by an insane amount:


Step 3
Upload and insert the image into WordPress.
At this point you’ll have an enormous image that takes up far too much screen real estate. However, you can now use WordPress’ native re-sizing option (which doesn’t affect the quality at all) to reduce the image to more appropriate dimensions.
Just hover over the image and click the pencil icon…
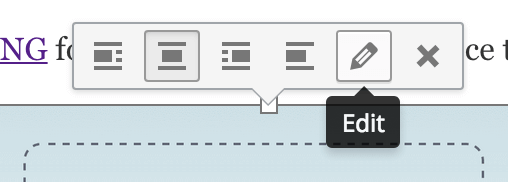

…then select Custom Size from the Size drop down menu and make the necessary changes:

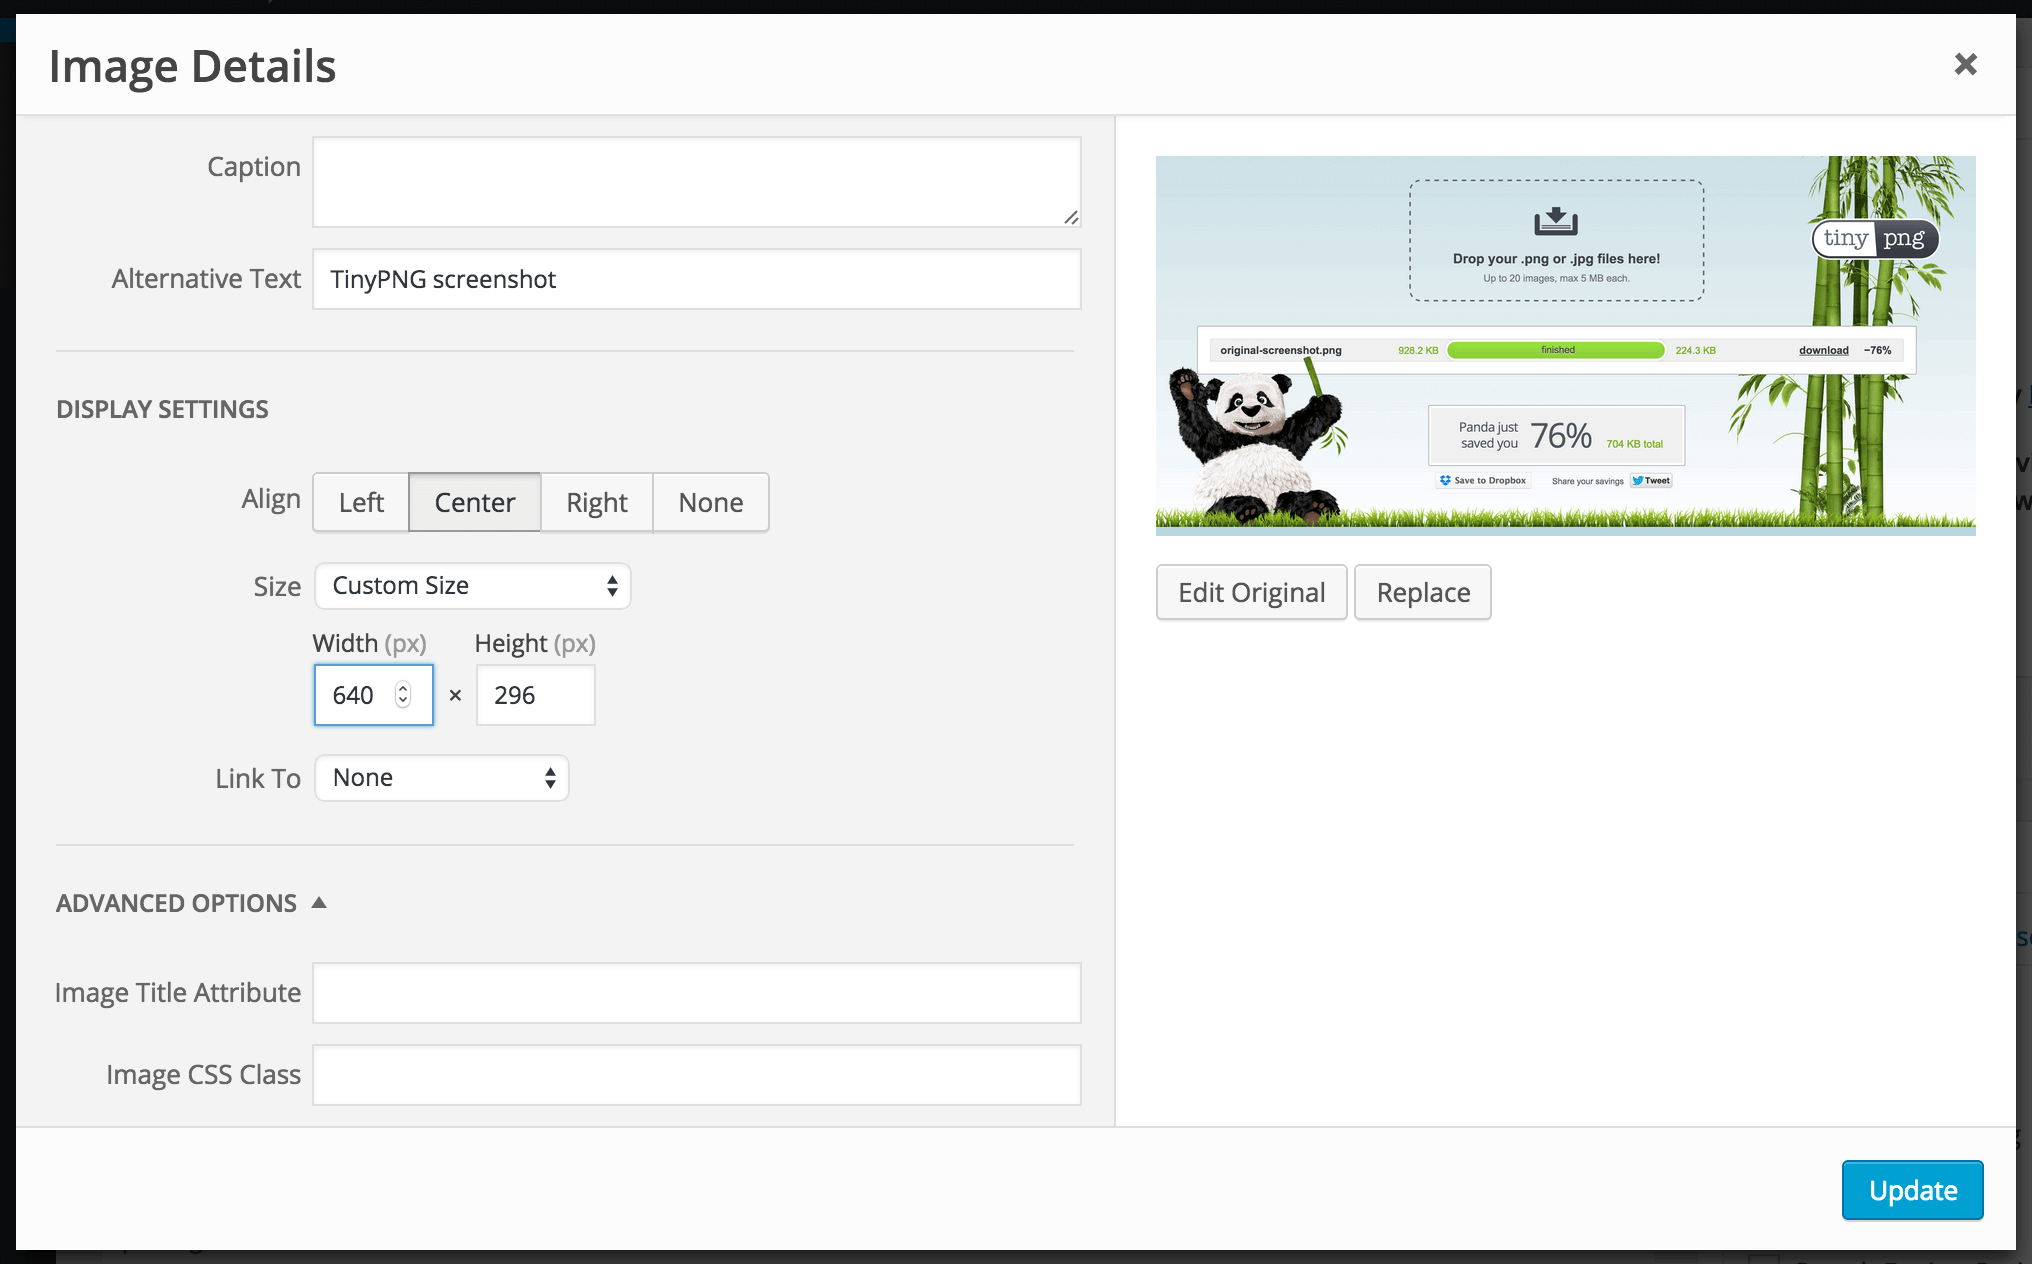
That’s it! You now have an image that is optimized to a level that the naked eye cannot discern, yet you will benefit from a relatively low file size.
I’m not going to pretend like this is the perfect result (as the file size can still be relatively high), but as a general rule, I’d choose an HD image over sub-par image quality with a small file size.
I already mentioned that I’m no graphic designer, and I’m sure that there are better methods out there for maintaining quality while reducing file size. However, the method above is a piece of cake to execute and requires no special software.
But now I want to turn it over to you – do you have your own methods? Share with us in the comments section below!
Photo Credit: Hefin Richards