Sharing your content on social media is an excellent way to get more traffic to your blog. The problem is, it also involves a lot of work, particularly if you publish content often. That’s time you could spend on other aspects of running and improving your website.
Luckily, WordPress is nothing if not flexible. That means there are plenty of ways you can automate the process of sharing your blog posts on all the social media platforms you can imagine. In most cases, you’ll want to focus on Facebook, due to its massive reach.
In this article, we’ll talk about why it makes sense to share your blog posts on Facebook and then teach you how to do it in three steps. Let’s get to work!
Why You Should Share Your Blog Posts to Facebook
Facebook has billions of visits per month. If there is a possibility your blog’s content can interest even a fraction of a percentage of those people, then sharing it on the platform makes sense. Doing so can help you lead people back to your website, and it can complement your existing Search Engine Optimization (SEO) strategy.
Most people invest all their effort into optimizing content for search engines. While that’s not a bad approach, it also ignores the fact there are other channels you can get traffic from. Social media platforms such as Facebook enable you to advertise your content for free, and there’s a small chance some of it may go viral. If this happens, you can expect a nice boost to your website’s traffic, even if it is a brief one.
If you want to learn more about the many ways to can market your blog, you should check out our Beginner Blogging course, which covers that and many other topics. For now, let’s focus on how you can automate the process of sharing your blog posts on Facebook so you don’t have to waste time doing it manually.
How to Automatically Share Your Blog Posts to Facebook (In 3 Steps)
For this tutorial, we are going to assume you’re using WordPress as your blogging platform. WordPress offers you plenty of ways to share your content to Facebook, but we’re partial to IFTTT because you can also configure it to perform other actions. Let’s talk about how it works.
Step #1: Set Up Your IFTTT Account and Link WordPress to It
If This Then That (IFTTT) is a service that enables you to link multiple third-party platforms and set triggers to perform actions. For example, you can use IFTTT to tell WordPress to share blog posts on Facebook each time you publish a new one. In that case, the trigger is the action of publishing a blog post and the reaction is sharing it to Facebook.
IFTTT calls these combinations ‘applets,’ and it offers you hundreds of pre-configured options to choose from. If you don’t like any of them, you can even set up your own applet in a matter of minutes.
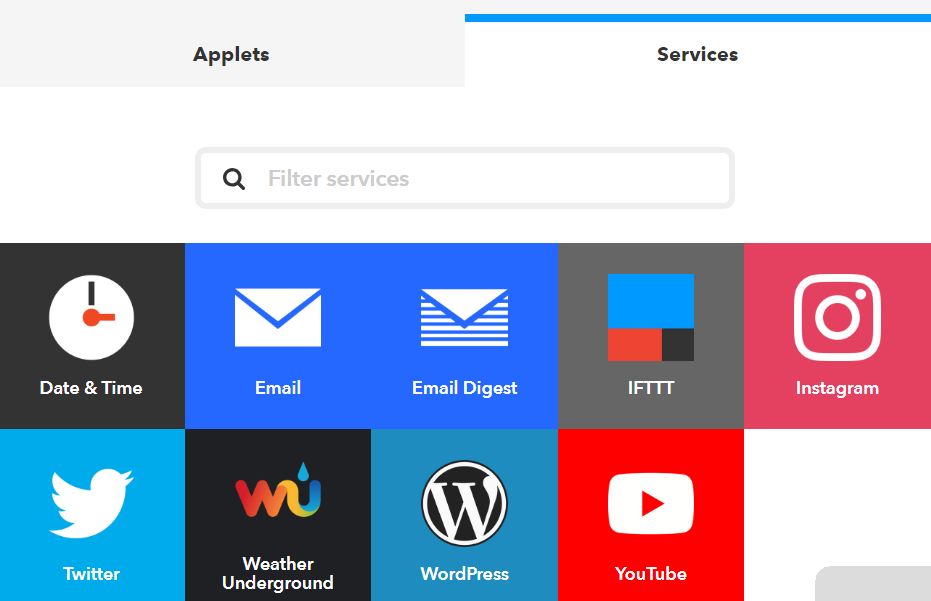
For now, go ahead and set up your free IFTTT account. Once it’s ready, you’ll be able to access the IFTTT dashboard, which should display your existing applets (none so far). There’s also a Services tab, which lists the platforms you’ve linked IFTTT with. Let’s jump over to it and choose the WordPress option:

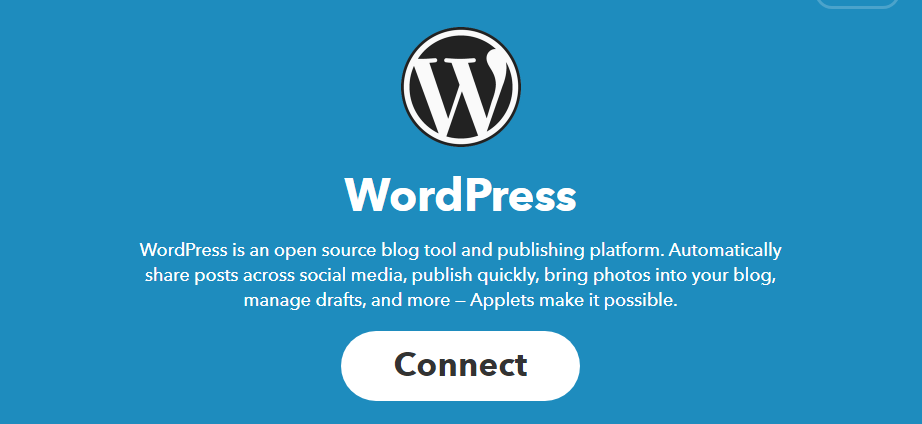
On the next screen, you’ll see a collection of all the applets IFTTT offers for WordPress users. Before you dive into them, look for the big Connect button near the top of the screen and click on it:

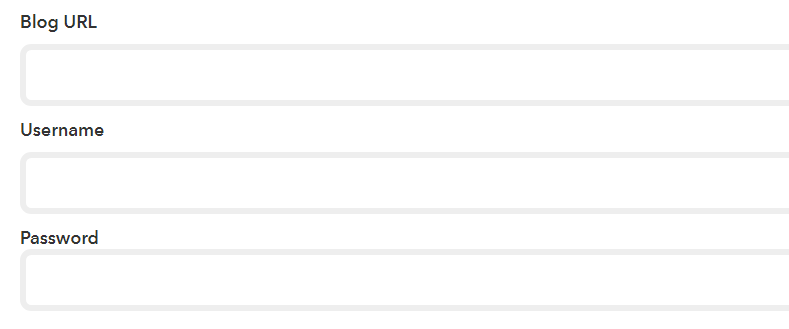
Now IFTTT will ask you to enter your blog’s URL, username, and password. The service is secure, so you’re safe sharing that data with them:

Click on Connect. If you entered your information correctly, IFTTT will link to WordPress near instantly. Now you’re ready for step two.
Step #2: Find the Right Applet and Connect Facebook With IFTTT
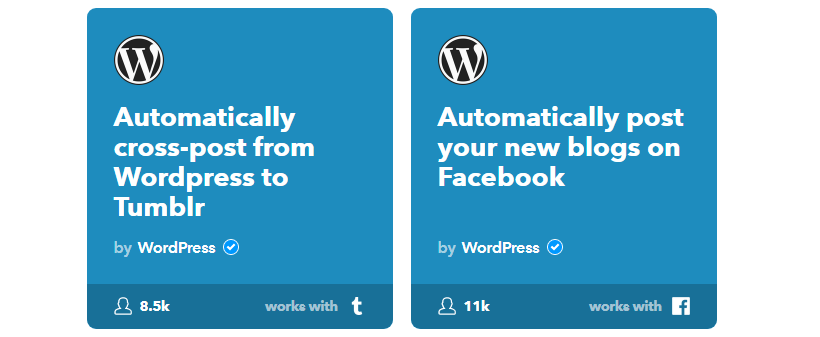
After you connect your WordPress website to IFTTT, you can browse through the applets with the platform. If you check out the available WordPress applets, you’ll see there is one that says Automatically post your new blogs on Facebook. That’s exactly what we want, so go ahead and click on it:

On the next screen, click on the option that says Turn On and IFTTT will ask you to link your Facebook account before you can use the applet:
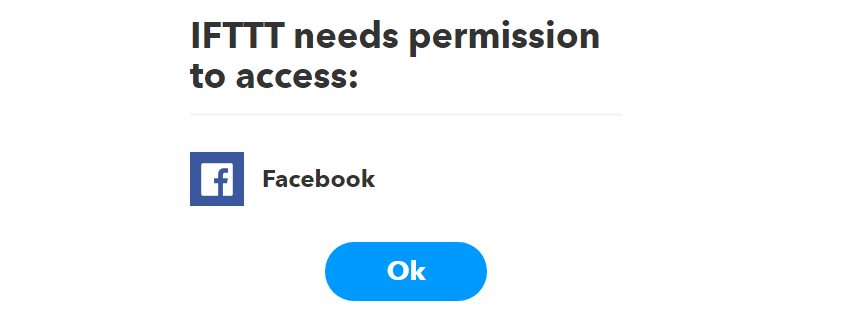

Just as with WordPress, the platform requires access to Facebook for its features to work, so say yes when you see the following screen:
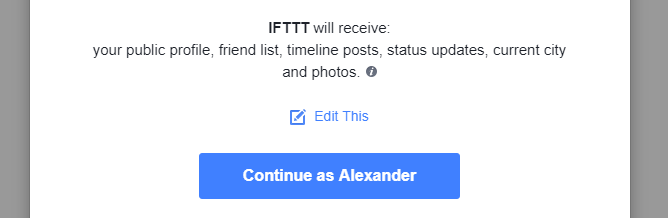

Now Facebook will ask you to confirm if you want IFTTT to be able to share content to your account and who should be able to see it. Once you confirm these settings, you’ll return to the IFTTT screen and you’re ready for the last step.
Step #3: Configure IFTTT to Share Your Blog Posts to Facebook
All that’s left to do now is configure your IFTTT applet so it displays a custom message when you publish new posts to Facebook. Here’s what should appear by default:
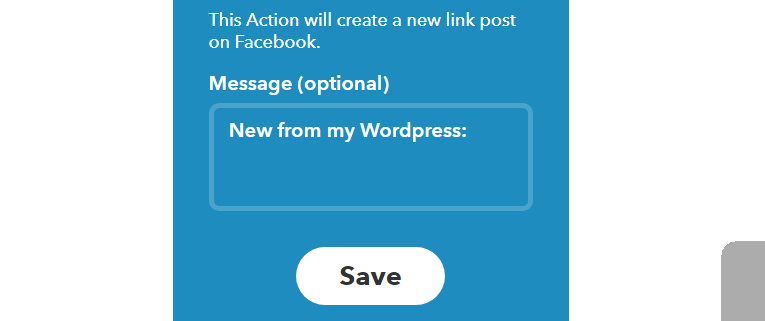

That’s too vague, so be sure to replace it with something more actionable that people might stop to read. There’s also a setting you can enable if you want to receive notifications whenever IFTTT publishes your content to WordPress:


This option can be useful if you don’t publish a lot of articles. It’ll remind you when your content goes live on Facebook, so you can delete any publications you don’t want to share with others. Aside from that, the applet will run on autopilot until you disable it. If you need to do that, all you have to do is jump to your My Applets tab and look for it there:
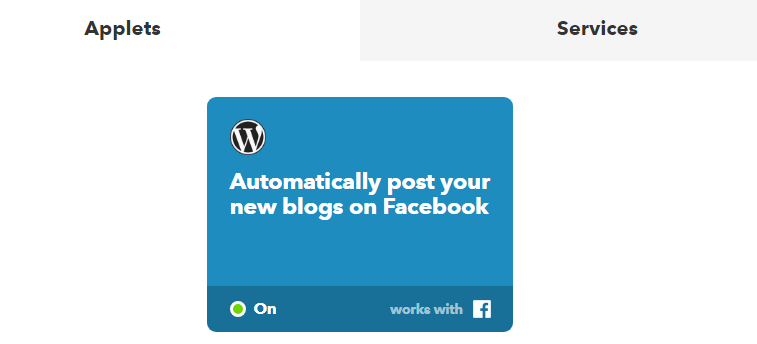

If you click on any of your applets, you’ll be able to toggle its status to Off with a single press of a button. This way, you can temporarily disable applets when you need to, such as when you make changes to your site.
Conclusion
Sharing your content on Facebook is an excellent way to get more eyes on it. Billions of people use the social network and the more content you share, the bigger your chances of some of it going viral and boosting your blog’s brand.
The problem is, sharing content takes work, which is why you want to automate the process using these three steps:
- Set up an IFTTT account and link it to WordPress.
- Find the right IFTTT applet and connect Facebook with the platform.
- Configure IFTTT to share your blog posts on Facebook automatically.
Do you have any questions about how to share your WordPress content on Facebook? Let’s talk about it in the comments section below!