

When you’re running a blog, it’s essential that it loads fast for everyone that visits it. Slow websites are something most of us don’t want to put up with, and if your blog feels too sluggish, people might get fed up and leave.
Google understands this phenomenon well, so it created a framework called Accelerated Mobile Pages (AMP). It’s meant to help improve your website’s loading times, and it’s relatively easy to implement if you’re using WordPress.
In this article, we’ll go over what Google AMP is and whether it makes sense to use it. Then we’ll talk about how to implement Google AMP for WordPress in two short steps. Let’s get to it!
What Is Google AMP (And Should You Use It)?
To kick off with the technical end of things, AMP is a framework that streamlines your website’s code so that mobile browsers can render it faster. To do this, it limits the HTML elements and CSS styles you can use, as well as restricts the use of JavaScript.
The result is that each page loads in record time, but they are extremely plain and won’t win any beauty awards. Despite that drawback, AMP pages tend to be very easy to read and navigate, which is particularly important for mobile users.
There’s a lot of debate around the idea of using AMP. For one, people argue the AMP framework locks you into the Google ecosystem. Despite its many upsides, critics argue there are many better ways to optimize websites for mobile devices. I would tend to agree, so AMP is not something I use on most of the sites I work on.
However, I do believe there is a perfect use case for the AMP framework, and that is blogging. With blogs, most of your content comes in the form of posts. Text-based posts are a perfect match for AMP since users aren’t likely to notice much difference on mobile when it comes to pages that use it and those that don’t.
That is not to say I recommend every blog use Google AMP. If you’re a WordPress user, there are a million other things you can do to improve your site’s performance. For the best possible results, you should try to optimize your blog manually. If you feel it’s still loading too slowly afterward, then try using AMP.
Likewise, if you run a blog where most of your traffic comes from mobile users (which isn’t that rare nowadays), using AMP can be a fantastic idea. Desktop users won’t feel any difference, and you’ll drastically improve the experience for mobile readers.
How to Implement Google AMP in WordPress (In 2 Steps)
As with a lot of other features, WordPress enables you to implement this one using plugins. In this section, I’ll introduce you to my favorite AMP plugin and teach you how to test if it’s working correctly.
Step #1: Set Up the AMP for WP Plugin and Activate It
For non-WordPress users, integrating AMP on websites can be a bit of a chore. For us, though, it’s as simple as using the right plugin and letting it work its magic.
After some testing, I found the AMP for WP plugin does the best job for most websites. Keep in mind, though – enabling AMP will alter the way your site renders on mobile devices. If you use very complex themes, you might want to test how AMP works using a staging copy of your blog before you activate this plugin on the live version.
In either case, when you’re ready to go, log into your dashboard and head to the Plugins > Add New tab. Once you’re in, use the search bar to look for AMP for WP:
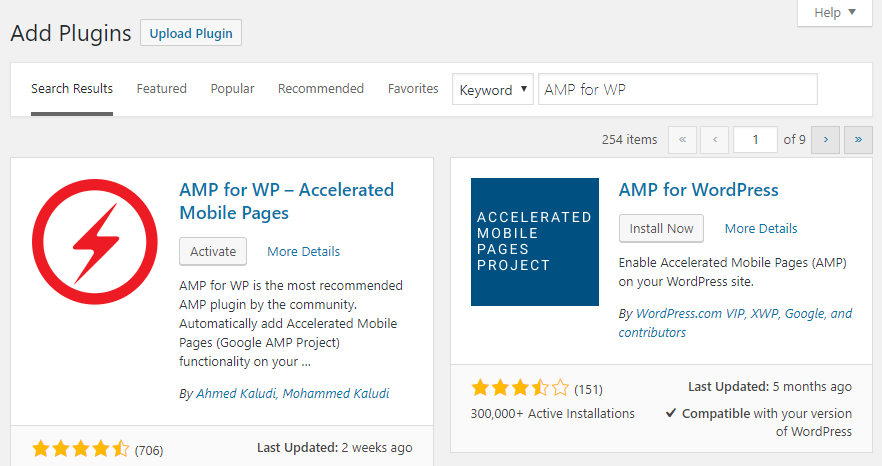

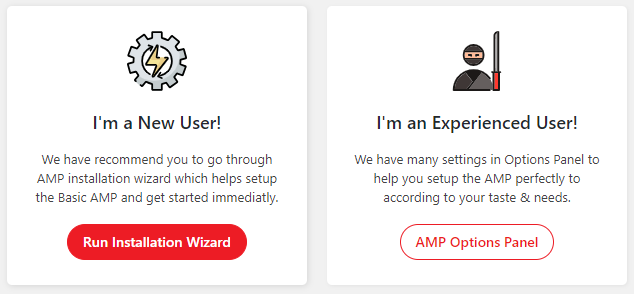
Click on the Install Now button and then activate the plugin. Now you’ll see a welcome page including a button that says Run Installation Wizard – go ahead and click on it:

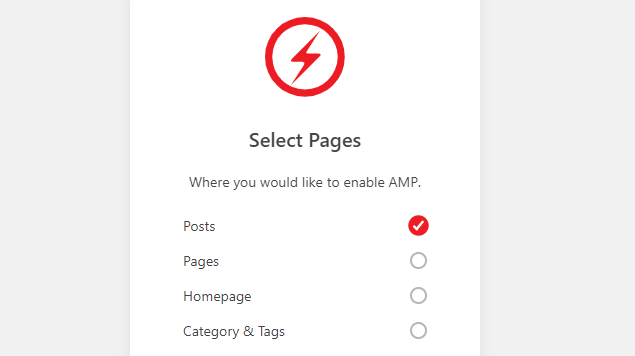
The wizard will ask you what kind of pages you want to enable AMP for. At the very least, you should enable it for your blog posts. However, it’s usually not a good idea to use it for regular pages since it will affect their style:

Further on, the wizard will ask you to choose from some predetermined styles for your AMP pages. They’re all perfect for blogs, so go ahead and pick whichever one you prefer:
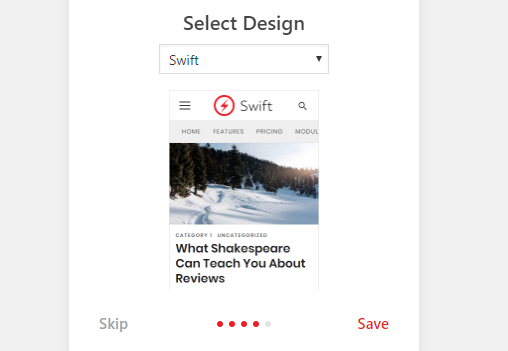

Keep in mind – this won’t change the theme you’re already using for your WordPress site. All it will do is alter the way your AMP pages look.
Once you’re done going through the wizard, go ahead and try to load one of your blog posts using a mobile device. It should look different now since AMP is enabled for your site. However, just to be safe, let’s check if everything is working correctly.
Step #2: Check Your AMP Pages Using Search Console
The easiest way to check if AMP is working as it should on your website is to use Google Search Console. As you might know, Search Console is a suite of free tools for webmasters, which enables you to test your websites.
You can feed a URL to Google Search Console and have it run a quick test to check for AMP use. If your website uses AMP, here’s what you’ll see:
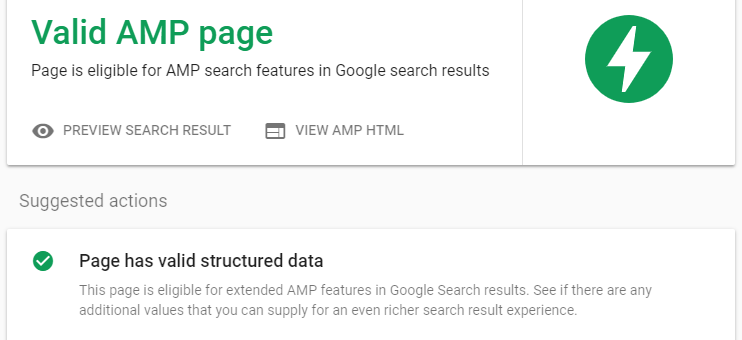

If your posts don’t return that message, then you might have a problem on your hands. In my experience, it may be due to a problem with a Content Delivery Network (CDN), so try turning yours off briefly to see if that fixes the issue.
Conclusion
Google AMP is a bold experiment and it’s a technology the search giant is still pushing. In fact, AMP is also coming to email. By using Google AMP for WordPress, you can drastically decrease your loading times. However, AMP might not be for everyone, so you’d do well to study the cons of using the framework before you hop in.
If you’re set on using AMP on your WordPress website, all it takes is two simple steps. First, set up the AMP for WP plugin and activate it, then check your posts using Search Console to see if the plugin did its work.
Do you have any questions about how Google AMP works? Let’s talk about them in the comments section below!
Image credit: Pixabay.