

As you may know, I’m a huge advocate of freelance blogging, but I’m not just talking about that. Regardless of what your online business focuses on and who it serves, you will (of course) need a website. And beyond your website, blogging is a powerful tool that you can leverage to attract subscribers, customers and clients.
With the above in mind, it’s such a huge shame that many people hit a stumbling block when it comes to creating their blog. They either try their best but find the process too complicated, or simply assume they are not “technical” enough to create their own blog and give up before they’ve even tried.
If that sounds like you, let me assure you that nothing could be further from the truth. Creating a blog can be complicated – if you don’t know the best tools to use (and how to use them) – but with the right guidance, even the least “technical” of people will find that creating a blog is a piece of cake.
That’s why I have written this step-by-step guide to creating your first blog. I’ve detailed every single thing you need to do in order to build your first blog – from purchasing a domain name and hosting, to installing the blogging software you’ll need, to even writing and publishing your first blog post.
Best of all, creating your first blog will take you a minimum of just 23 clicks. Seriously – I counted the number of clicks it took me to do it.
Let’s get started!
How to Create Your First Blog From Scratch (In 23 Clicks)
First of all, you’ll need to purchase a domain name and some hosting.
While there are free options out there (like Blogger and Tumblr), they always impose limitations – many of which make them completely inappropriate for running a business. So my advice is that you fork out from as little as $4.95 per month for hosting. If you’re serious about this then that shouldn’t be too much of a stretch!
So let’s get started.
Click here to access the Bluehost homepage. Bluehost are my domain name and hosting provider of choice – all of my websites are hosted with them, including Leaving Work Behind. They also offer a 30-day Money Back Guarantee. Need I say more?
(Please note that I will receive a commission from Bluehost if you choose to purchase hosting via the link above. This does not affect the price you pay – you are getting the best possible deal. If you would like to support me and see more how-to guides like this, please click on the above link to make your purchase!)
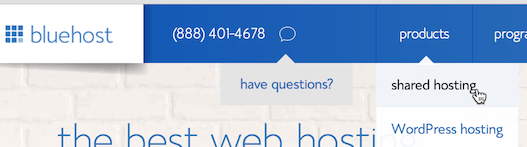
On the Bluehost homepage, hover over products in the navigation bar and click on Shared Hosting.

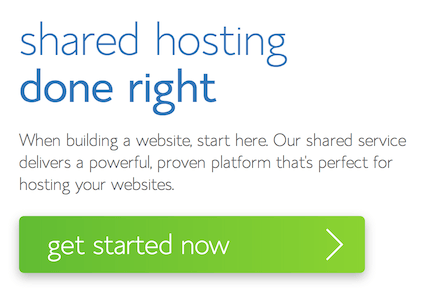
On the next page, click get started now.

Enter your chosen domain name on the next page and click on next.
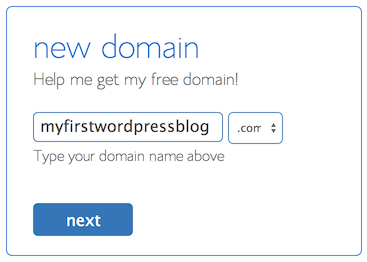

If you’re not sure what domain name to choose, check out this wonderful guide.
Please note that your chosen domain name may be taken; you may need to try a few different names before you find one that hasn’t already been registered. If you find this process a little frustrating, remember this: your domain name doesn’t have to be permanent. If you’re not 100% happy with your domain name, you can always change it in the future (you can grab a new domain for as little as $11.99).
All thing being well, you will see a confirmation message on the next page:


You’ll need to enter your account information below that message.
Next, select your account plan. I recommend a 12 month subscription to start with (at $6.95 per month), but you can reduce the monthly cost with longer subscriptions – 24 months ($5.95) or 36 months ($4.95).
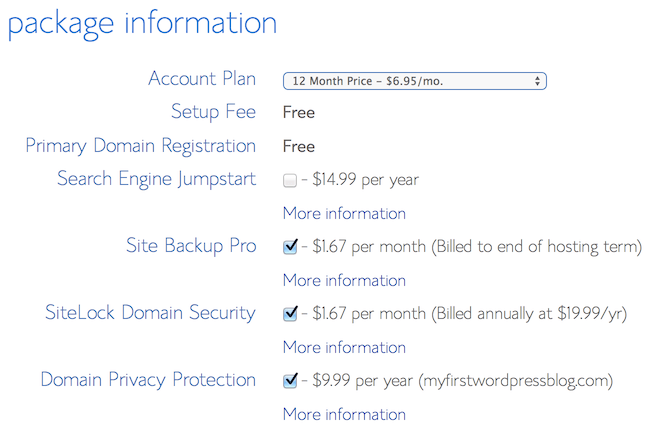

You may be wondering what the other options are, so let’s take a moment to explore them:
- Search Engine Jumpstart. You don’t need to start worrying about search engines just yet, so unless you’re keen on the features it offers, leave this unchecked.
- Site Backup Pro. This is not mandatory, but I strongly recommend that you leave this box checked. It is vital that you take regular backups of your site, and for just $1.67 per month, Bluehost’s backup service is great value for money.
- SiteLock Domain Security. This is not essential, but check out the features by clicking on More information and decide for yourself.
- Domain Privacy Protection. I can’t put it better than Bluehost does: “The whois information for any domain name is available to anyone on the internet. Your whois information can be harvested by marketing companies, which will give you unwanted solicitations. When you add Bluehost Domain Privacy to your registration, the only information listed in the whois will be Bluehost.” Basically, it’s an issue of privacy. Decide whether you want it accordingly!
I recommend that you leave the boxes as they are, but it is of course entirely up to you.
Next, enter your billing information. You can pay by credit card, or if you would prefer, you can click on More payment options to pay by PayPal.
You may notice that although there is a monthly fee for hosting, Bluehost charges you annually. So instead of paying say $6.95 per month, every month, you pay $83.40 for the whole year up front.
Don’t let that worry you though. Not only do Bluehost have a 30 day Money Back guarantee, they also offer pro rata refunds after that time. So if you decide to cancel your hosting three months from now, you’ll still get your money back for the remaining nine months.
Once you’re finished and happy to proceed, click on the big green next button at the bottom of the page:


You’ll be taken to a confirmation page, where you’ll be prompted to create a password. Click on the create your password button:
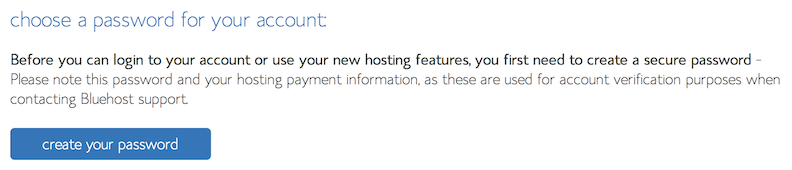

You’ll be taken to a page where you can create a password for your account. I recommend that you use Bluehost’s password generator for this purpose – they’ll create a really secure password for you. It’s entirely up to you though.
Click on the Password Generator button. A new window will open with a unique password generated for your account.
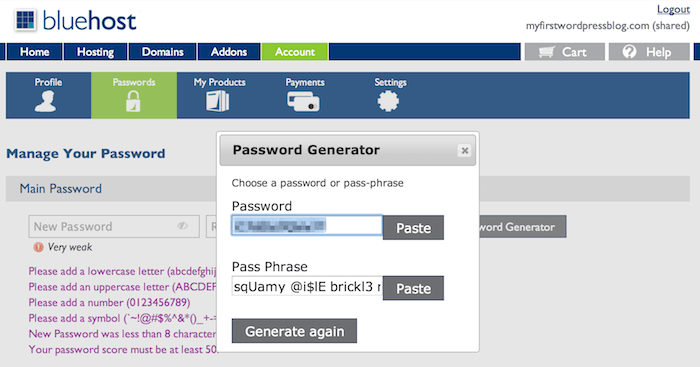

Make a note of the password, then click on the Paste button. The password will be pasted into the two fields. You can then click on the Create button.


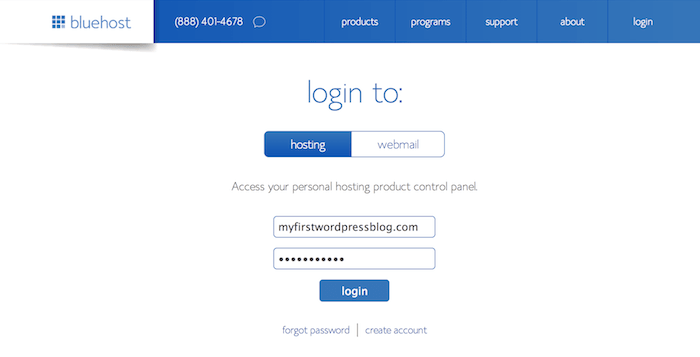
You’ll then be taken to an Account Login screen. Enter your domain name and your password and click the login button.

The first time you login, you may be directed to a optimized hosting offer page like this:


You don’t need to worry about optimized hosting right now, so just click on the No thanks, I’m not interested link at the bottom.
On the next page you’ll get a friendly “Welcome to Bluehost” notice:
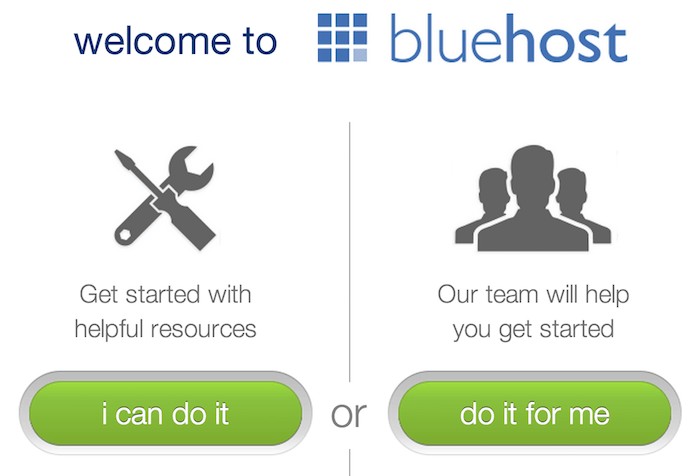

You can click on the i can do it button, because we’re going to take care of things ourselves.
Next you’ll be presented with a list of options:
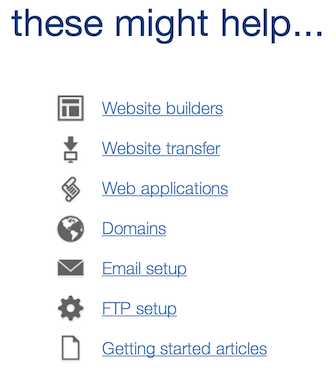

Click on the Website builders link. On the next page, click on the Use WordPress button from the three options:


Now you can install WordPress onto your site.
WordPress is a completely free blogging platform that makes it incredibly easy to create and maintain you own blog. There are other options out there, but in my opinion, WordPress wipes the floor with the lot of them. And did I mention that it’s free?
With the above said, go ahead and click on the Install button.


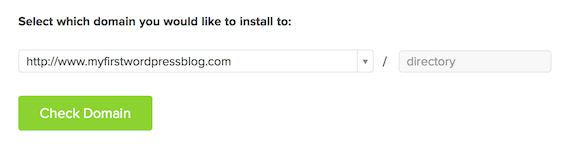
On the next page, select your new domain name from the drop down box and click on Check Domain.

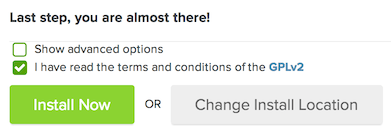
Then just check the box to confirm that you have read the terms and conditions and click on Install Now.

It’ll only take a few moments for WordPress to be installed on your domain.
Once the progress bar on the page has filled up, click on the No thanks, I am a web designer link at the bottom of the page.
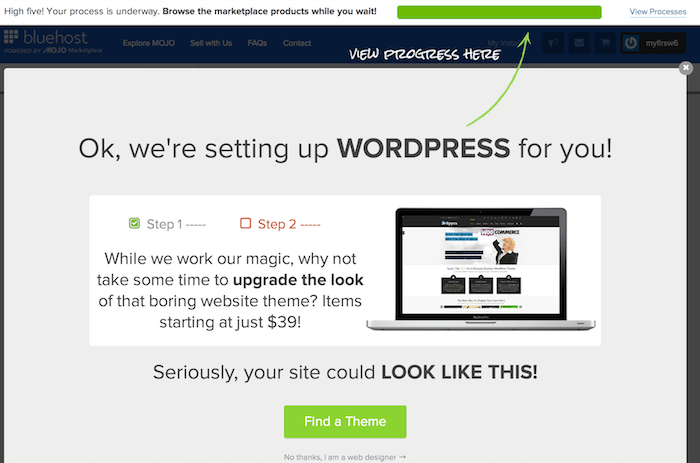

Don’t worry – you absolutely do not need to be a web designer to create a good-looking blog – they’re just trying to scare you 😉
That’s it! WordPress has been installed and will be live on your domain right now. Seriously, I’m not kidding – open up a new browser tab and type in your domain now and you’ll see something like this:
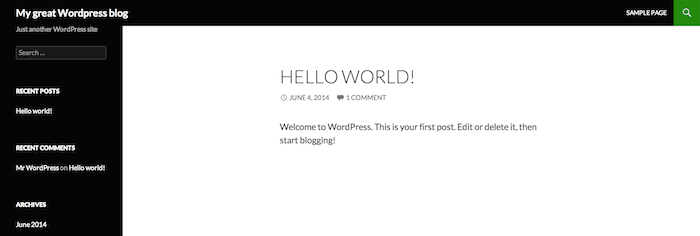

That wasn’t so difficult, was it?
To finish off, let’s get you logged into your brand new site so you can create your very first blog post. You’ll need your login details, which you’ll find in your email inbox in an email entitled Next steps for your WordPress Install.
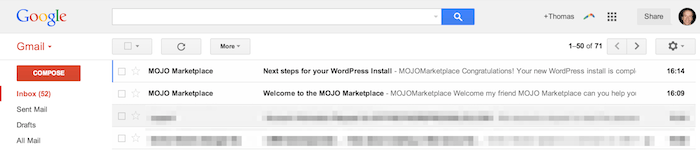

Open up that email and you’ll find a link to your Admin URL as well as your username and password. Click on the View Password link and you’ll be taken to your MOJO Marketplace account.
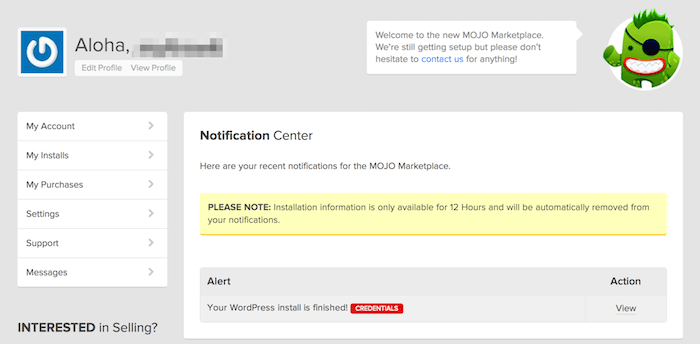

As you can see above, there you will find a WordPress installation confirmation alert. Click the View link to the right of that alert and you’ll be presented with your user name and password.

Make sure to keep these safe, as this notification will be deleted from your account after 12 hours!
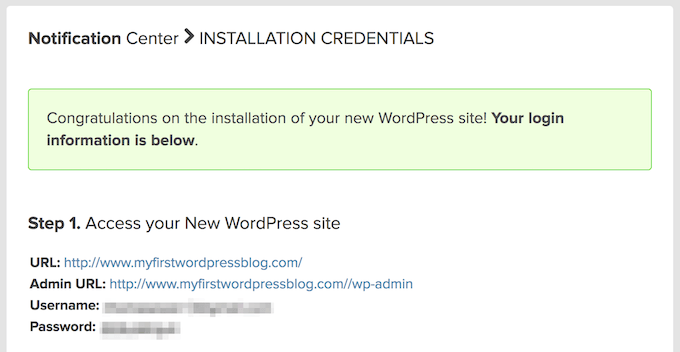
From this screen, click on your domain’s Admin URL. You’ll be directed to your blog’s login page:
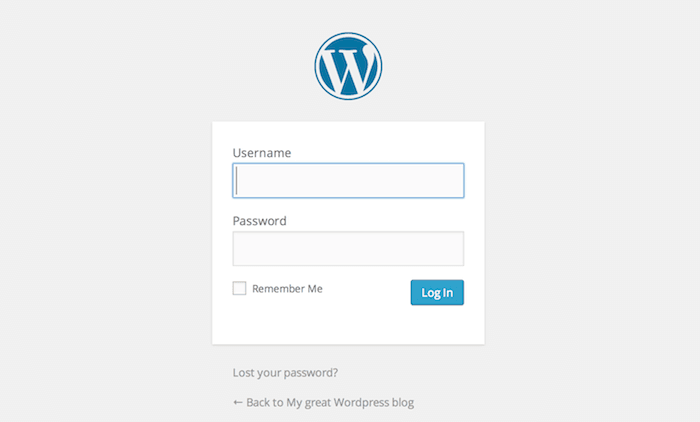

Enter your username and password then click on the Log In button.
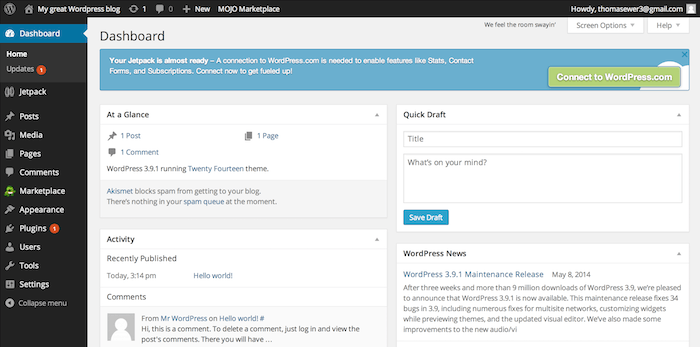
Congratulations! You’ve made it to the promised land – the backend of your first blog:

If you’ve scanned through the steps to see how easy the process is, you should be ready to start now! Click here to head over to Bluehost and start creating your blog!
The dashboard above may all look rather overwhelming at first, but you’ll get used to it in no time at all, I promise.
In fact, I’m going to show you just how user-friendly WordPress is by helping you to publish your first ever blog post. Believe it or not, it’ll take you just two more clicks.
How to Write and Publish Your First Blog Post (In 2 Clicks)
Once you’re logged in, you will be redirected to the WordPress Dashboard (shown above). From here you can access all of the tools you need to create your blog.
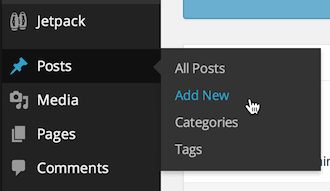
To create your first post, hover over Posts in the side bar and click on Add New.

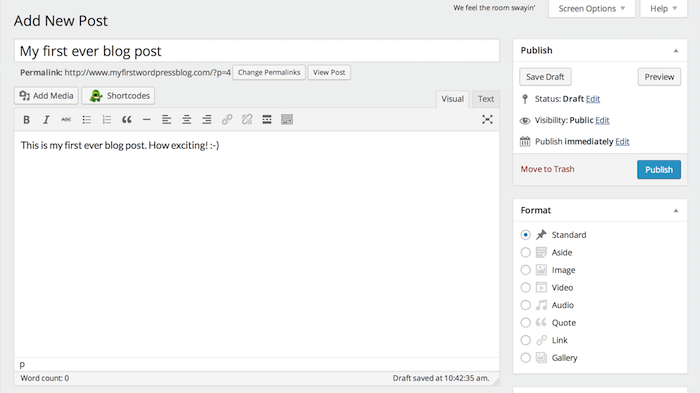
You’ll be taken to the Add New Post screen:
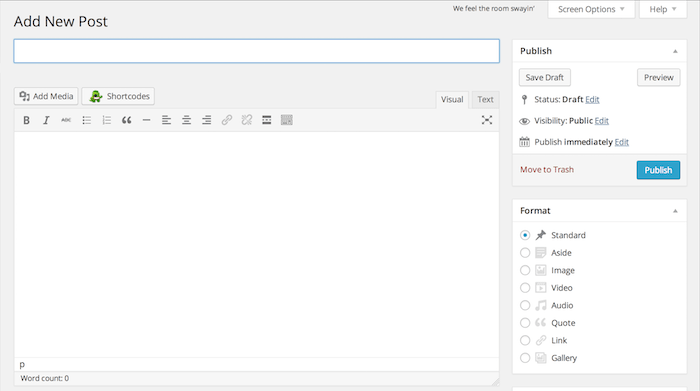

This is where you’ll spend a lot of your time; creating posts for your blog. Now we just need to do three things to get your first blog post published.
First, enter a title in the first box (where it says Enter title here).
Second, add some content in the big text box below the title box. You’ll find that this box functions in much the same way as Microsoft Word or Google Docs – it’s very user friendly.
When you’re done you should see something like this:

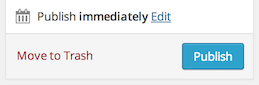
Now you have just one thing left to do: click on the the Publish button.

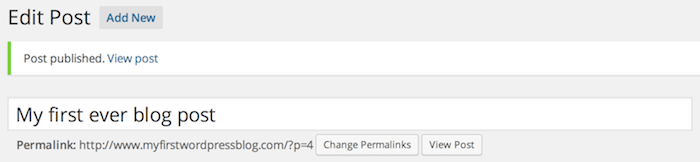
Once the post is published, you’ll be returned to the same screen, but there will be a notification at the top:

Go ahead and click on View post. Here’s what you’ll see:
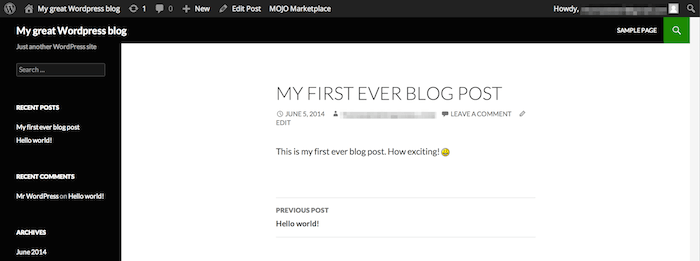

There it is! Your first ever blog post, published on the web for anyone to see.
Ready to get cracking if you haven’t already? Click here to head over to Bluehost and start creating your blog!
That’s All There Is to It. So, What’s Holding You Back?
If you were previously afraid to blog because you thought it might be too complicated to get started, I hope I’ve quashed that fear now. The site I set up for this guide is still up for you to see as proof of how easy the process is.
With the above guide you have a foolproof method for setting up your first blog and even writing and publishing a post. Everything else you need to learn will come with time, trial, error and experience. There’s nothing to be afraid of, I promise!
Best of all, once you’ve purchased a domain and hosting, you don’t need to spend a single penny more. While you can spend plenty of money on premium themes and plugins, you do not need them in order to build a successful blog.
If you have any questions about the above process or if you would like to know what to do next once you have your site set up, please don’t hesitate to get in contact via the comments section below. I’ll be happy to help.
So what are you waiting for? Head over to Bluehost now and get started!
Photo Credit: PublicDomainPictures