Email marketing is one of the best ways to stay in touch with your audience and drive traffic to your blog. The problem is, sending email after email takes time, and it can distract from working on your blog, which should be at the core of your efforts.
The good news is modern email marketing tools enable you to take a hands-on approach when it comes to your campaigns. Once you design them, you can schedule emails to go out at specific times of when your subscribers ‘trigger’ them. To put it another way, you can easily create fully automated email campaigns.
In this article, I’m going to talk to you a bit more about what email automation is and how it can help you. Then I’ll teach you how to create an automated email series step-by-step. Let’s get right to work!
What Email Automation Is (And How It Can Help You)
Modern email marketing services enable you to design campaigns including multiple messages. Once there are several emails lined up and ready to go, you can schedule them to go out at specific times. In some cases, you can also configure triggers that have nothing to do with dates. For example, a lot of websites use a ‘welcome’ series that users get when they sign up to a mailing list.
Usually, people refer to this type of magic as email automation or autoresponders. You still have to create campaigns from scratch, customize them so they look great, and come up with content. However, automation means you don’t have to micromanage when to send each email, and you can focus on more important things.
More importantly, you can automate several emails at once by using unique triggers for each of them. That means you just need to log into your email marketing service from time to time to check up on their performance and make some adjustments.
Keep in mind, though – while most email marketing platforms offer automation features, they’re not always available for free users. In the next section, I’ll show you how autoresponders work using one of our favorite platforms as an example (which does offer a free trial!).
How to Use Automated Emails to Drive Traffic to Your Blog (In 3 Steps)
For this tutorial, I’ll be using Constant Contact to showcase how email automation works. You can follow along by creating an account and signing up for the platform’s free trial. However, you’re also free to use any other email marketing service you want, as long as you know they may handle automation differently.
Finally, if you don’t think you’re ready to tackle automation yet, you might want to check out our Beginner Blogging course. It will guide you through the entire process of setting up a WordPress blog and creating content for it. When you’re ready, you can come back around to email marketing.
Step #1: Create a New Autoresponder Series and Choose an Email List to Target
Before you can set up autoresponders, you will want to create an email list and add a signup form to your blog. I covered that entire process in this previous article, so check it out if you haven’t done so yet.
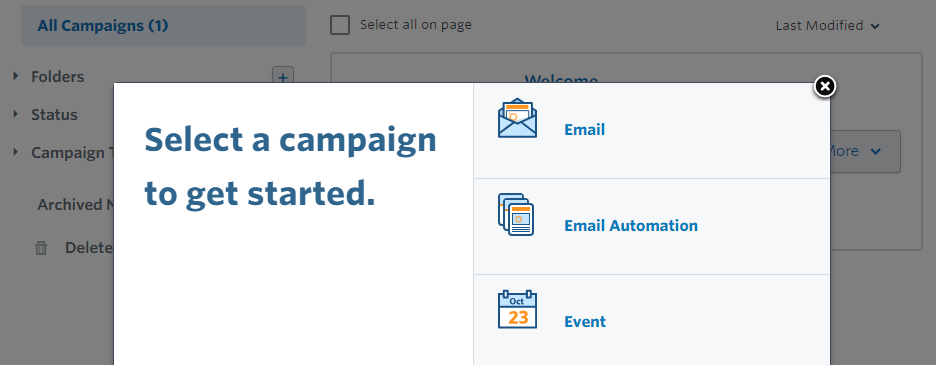
Once you have an email list ready, go to your Constant Contact dashboard and jump to the Campaigns tab at the top of the screen. On the next page, click on Create and choose the Email Automation option:

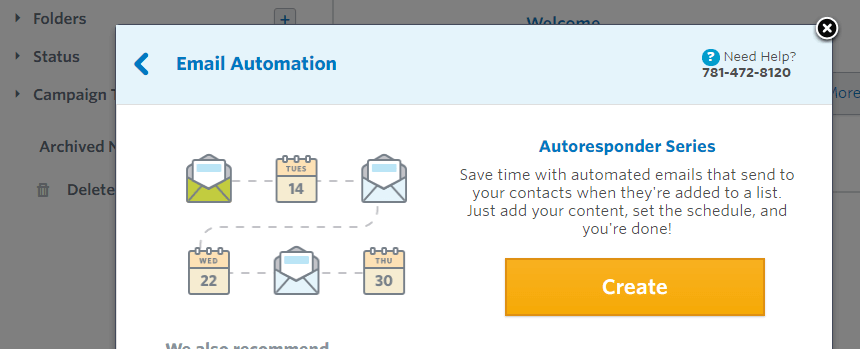
Now, the platform will ask you to confirm if you want to create an autoresponder series, so go ahead and click on the Create button again:

On the next page, you’ll be able to set a name for your autoresponder. Your subscribers won’t see this name as it is only for internal identification purposes. Below that field, you will see an option to choose which email list it should target:
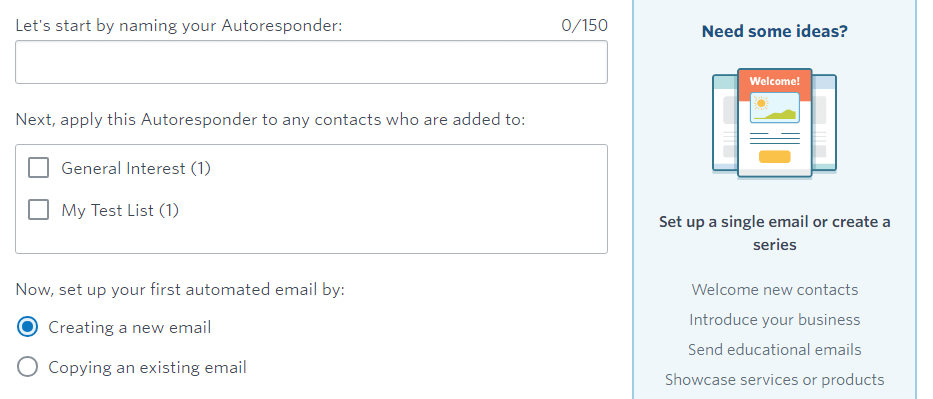

You will notice I ticked the option that says Creating a new email at the bottom of the settings screen. This will launch us into the next section of the tutorial where I show you how to create your first email.
Step #2: Create the First Email for Your Series (And Schedule It)
Constant Contact enables you to choose between two approaches when it comes to email creation. You can start from scratch or use a pre-built layout you can customize as you want:
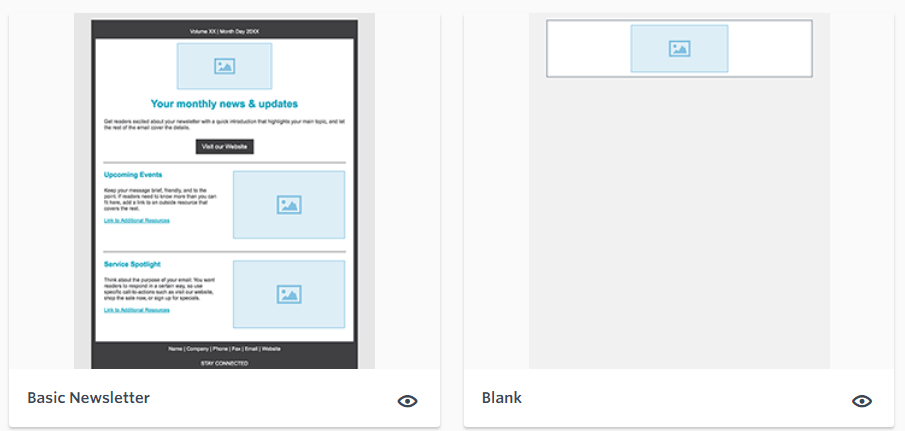

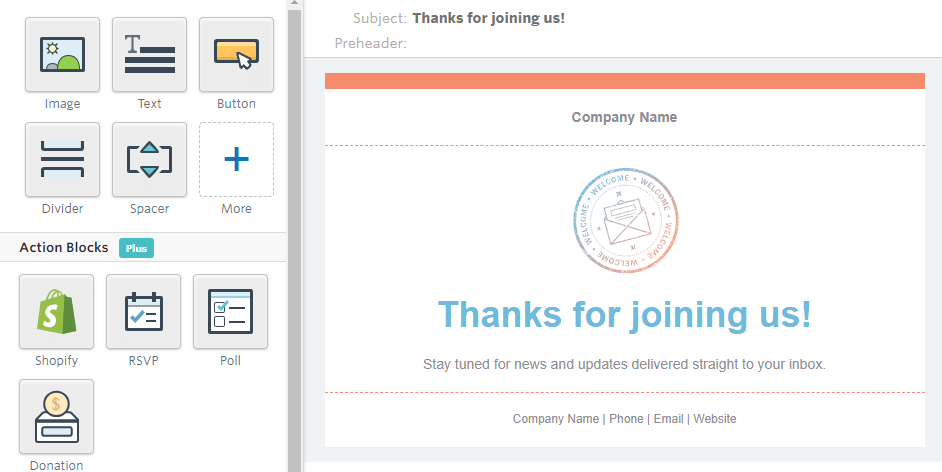
For this tutorial, I chose a simple welcome email layout, which you can see below:

Even if you’re using a template, you can modify any aspect of your emails by clicking on the sections you want to change, like this:
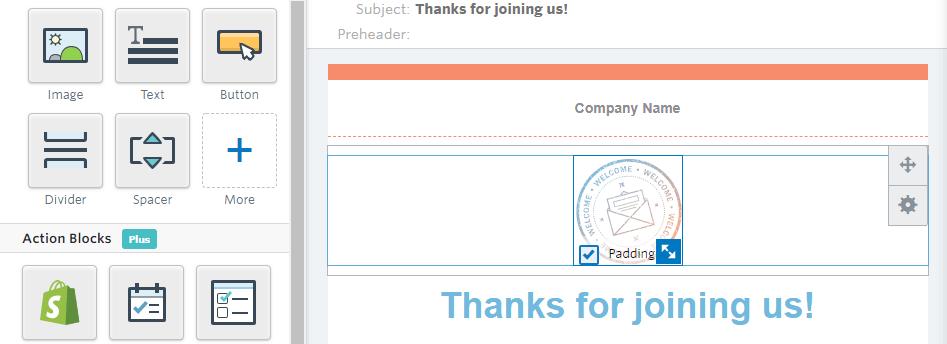

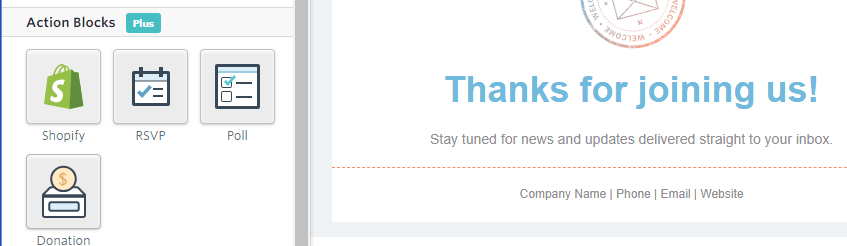
You can also remove any elements you don’t want or re-arrange them using drag-and-drop functionality. More importantly, you can add new elements from the list of options to your left, to flesh out your emails even further:

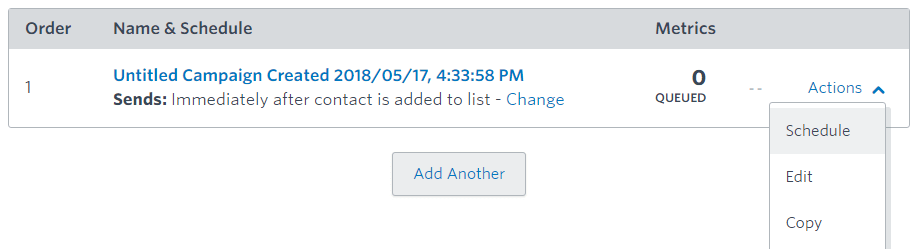
For a better look at how to edit your emails, you can check out this tutorial from Constant Contact. For now, feel free to play around with your first email until you get something you like. When you’re done, click on the Continue button at the top of the screen. Now you’ll see a list of the emails your campaign currently contains. You will notice the email we just created is set to send immediately when someone joins your list:


If you want to change that, you can click on the Actions button to the right of your email and select the Schedule option:

Here, you can choose when you want your email to go out. When you’re done, save your changes and return to your campaign’s master list. Now your first autoresponder is ready to go. All that’s left is to flesh out your campaign even further.
Step #3: Flesh Out Your Email Series and Drive Traffic to Your Blog
Now that you know how to automate email campaigns, it’s time to talk about how to use them to drive traffic back to your blog. One of my favorite techniques has to do with sending roundups of your latest and best posts to your list of subscribers. To do it, just go ahead and click on the Add Another button on your campaign’s master list:
Now, the process starts from scratch again. You can choose a layout for your new email or design it from the ground up. In any case, all you have to do is add some links to your best posts and schedule them to go out sometime after users join your list. Personally, I like sending monthly reminders to my subscribers about the best posts during that period. That way, I can remind them to check back on my sites without annoying them too much, but your mileage may vary.
Conclusion
Autoresponders are one of the most useful features email marketing services offer you. If you’re not taking advantage of them, you’re probably spending more time than necessary sending and scheduling new emails. That is time which you could better spend coming up with new topic ideas and getting to work on writing them.
Furthermore, creating automated email campaigns is simple, particularly with Constant Contact. Here’s all you need to do:
- Create a new autoresponder series and choose an email list to target.
- Create the first email for your series and schedule it.
- Add more emails to your series and use them to drive traffic back to your blog.
Do you have any questions about how to use email autoresponders effectively? Let’s talk about them in the comments section below!