Email opt-in or signup forms should be at the heart of your marketing strategy. Without them, people won’t be able to subscribe to your email list, and you’ll miss out on all the benefits of being able to reach them at a moment’s notice.
The good news is it’s easy to add opt-in forms to your website, whether you’re using WordPress or not. All you have to do is choose an email marketing platform and check out its documentation to find out what options it can offer you when it comes to forms.
In this article, I’m going to walk you through this process using Constant Contact as our guinea pig. With it, I can show you how to add email forms to WordPress both with and without plugins, so let’s get to work!
What Are Email Opt-In Forms (And Why You Need One)

Email forms are simple elements that enable your visitors to sign up to receive messages via email. In most cases, you’ll use them to send updates about your blog or information about new offers.
Having a healthy list of email subscribers should be one of your primary goals if you want to grow a website. After all, those users are interested enough in your content to signup for periodic emails, so you want to nurture that relationship. With emails, you can stay in touch with your core group of users, lead them back to your website, and even convert them depending on what your goals are. In other words, they’re indispensable, and you can even do email marketing on a budget.
However, you can’t take advantage of any of these perks if you don’t provide your users with a way to sign up to your list. With that in mind, let’s jump right into the technical stuff.
How to Add Email Opt-In Forms to WordPress
I’m going to focus on WordPress in this tutorial because it’s our platform of choice. Plus, using plugins makes it pretty simple to add email forms to your website. However, you can also add email forms to your site manually if you’re not a WordPress user.
If you’re just getting started with the platform and you need a little extra help before thinking about emails, check out our Beginner Blogging course. We’ll walk you through the process of setting up your website. When you’re ready, you can add an email form to it.
Use the Official Constant Contact Forms Plugin
For this section, I’m going to assume you already have a Constant Contact account set up, as well as an empty email list. If you don’t, go ahead and create one now. They offer a 60-day free trial, so you can test the service out for a while and see if it’s up your alley.
Once you have an account ready, go to your WordPress dashboard and into the Plugins tab. Inside, you’ll find a button that says Add New at the top of the screen. On the next page, you’ll see a search bar to the right. Type Constant Contact Forms within it and you should see the following plugins appear:
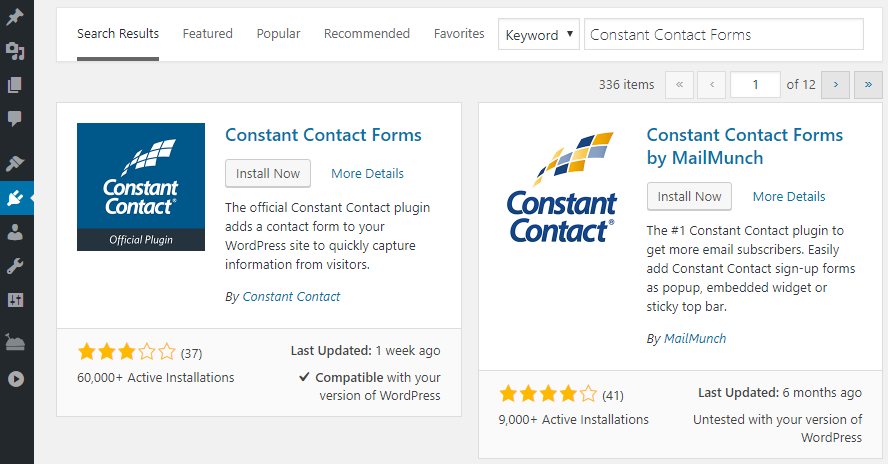

Choose Constant Contact Forms and click on Install Now next to the plugin’s name and wait until the button turns blue. Now, it should read Activate and you need to press the button again to get the plugin up and running. A new tab called Contact Form will pop up on your dashboard to the left. Click on it and choose the option that says Connect Now. On the next page, you’ll see a button that reads Connect Plugin:
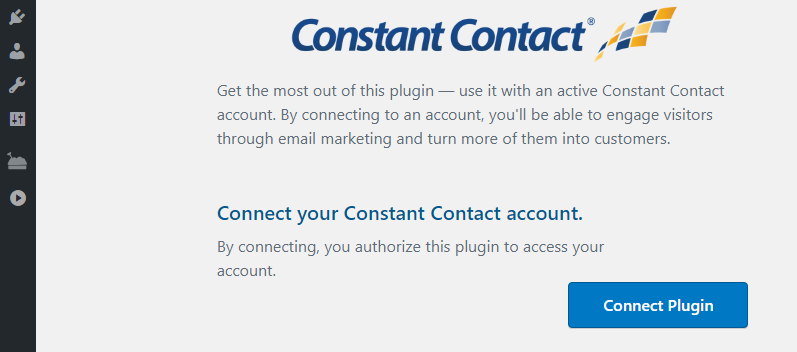

Once you click on it, the plugin will ask for your Constant Contact credentials to connect your website to your account:


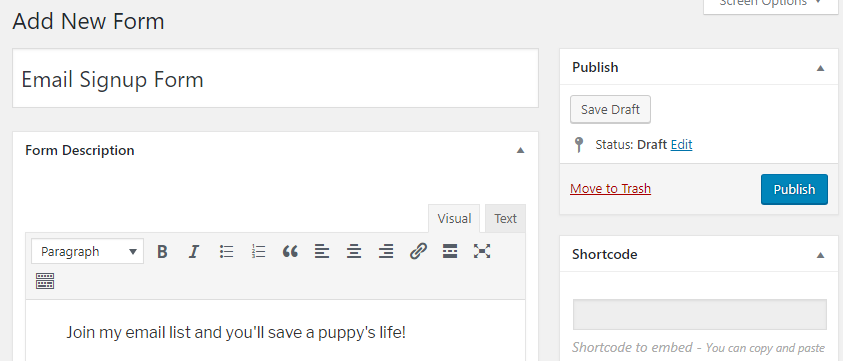
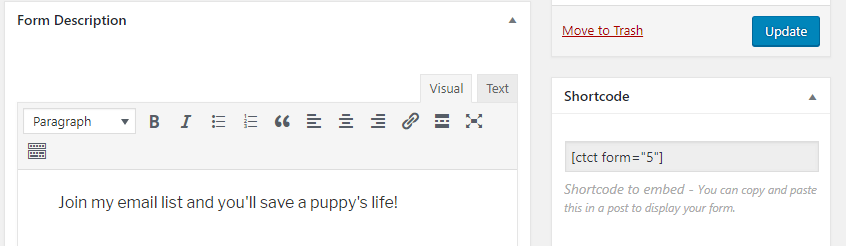
After you’ve connected your account, you’ll be able to add email forms to WordPress. To create your first one, go to Contact Form > Add New Form. The WordPress editor will open now and you’ll be able to set a title for it, as well as a description:

Below that, there’s a widget called Form Options. Inside, you can choose what text your signup button will display and set a success message:
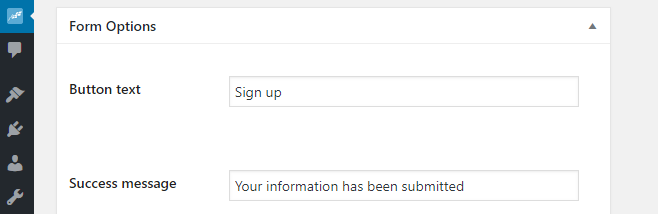

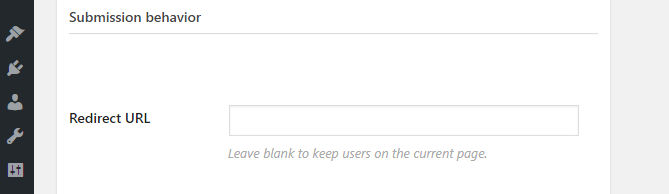
You can also configure your form to redirect users to another page when they sign up, although we recommend skipping that. In most cases a simple success message is enough:

Finally, the plugin also enables you to add new fields to your opt-in form. By default, it will only include a field for users to add their emails and the signup button. However, you can also ask users to leave more information, such as a full name, if you would like to:
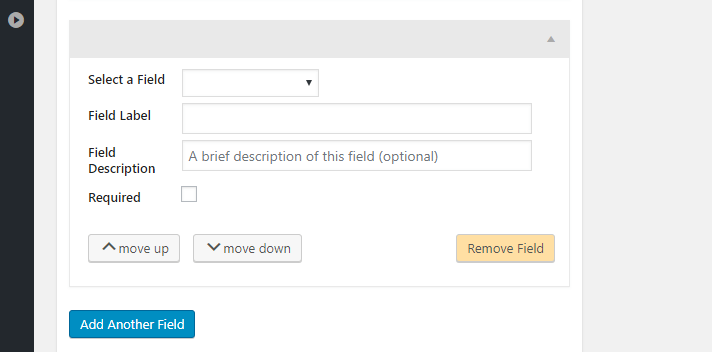

If you do end up adding more fields to your opt-in form, you can rearrange them using the buttons that say move up and move down, which you can see above. Once your email signup form is ready, scroll back up and hit the Publish button to save it. Keep in mind that just pressing this button won’t publish the form to your website. To do that, you’ll need to use a shortcode, which is the string of code you can see below the Publish button:

You can paste this shortcode anywhere you want on your WordPress website, using the editor, like this:
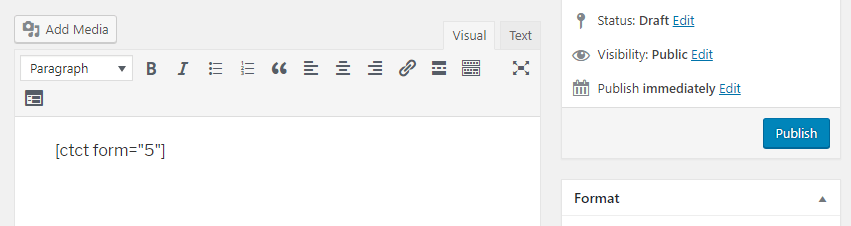

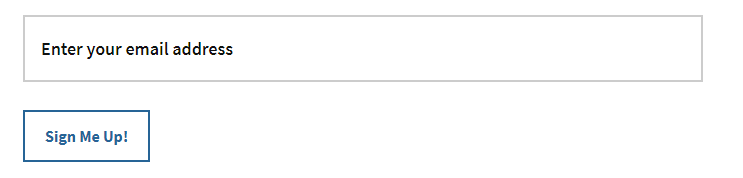
Once you publish this page, WordPress will display the form that corresponds to your shortcode instead of the text:
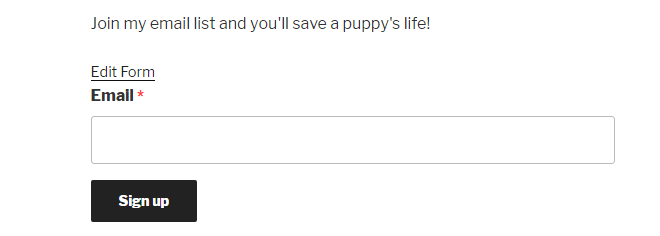

You’ll notice there’s a bit of text that says Edit Form right above your new element. Don’t worry about it – only you can see that since your account has administrative privileges. Regular users will just see the field to enter their email and the sign-up button.
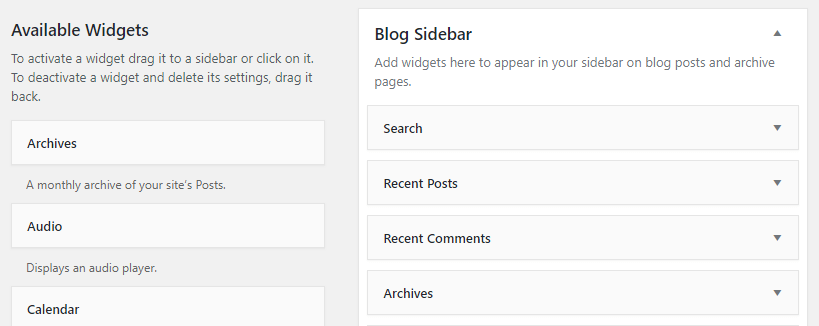
What most people do is add their opt-in forms to their website’s sidebars. To do that in WordPress, go to the Appearance > Widgets tab. To the right, you’ll see all the elements your sidebar contains:

You can drag-and-drop additional widgets from the left column to your sidebar. There’s a widget called Constant Contact Forms, and in this example, we set it right below our search bar:
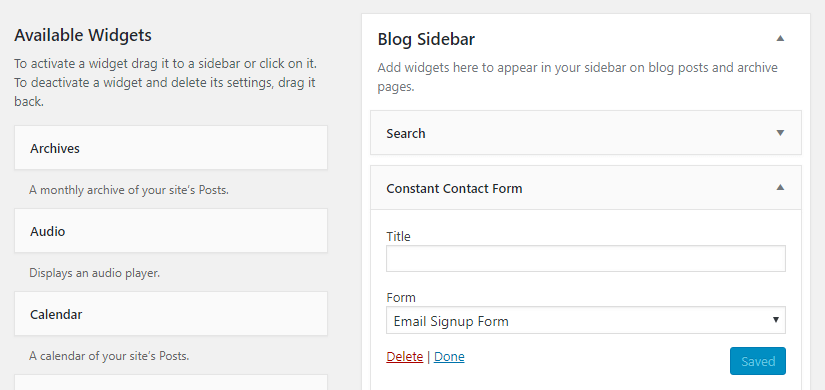

For this widget to work, you’ll need to have at least one opt-in form ready to go, which you can choose from the Constant Contact Form drop-down menu. Now, your form will show up on your sidebar without the need to use any shortcode.
Conclusion
Adding an email signup form to WordPress is easy. Most popular email marketing platforms, including Constant Contact, have plugins you can use to help you set yours up. Even if they don’t, adding one manually is not as complicated as you might think. Once your form is ready, it’s up to you to drive as much attention to it as possible, so you can grow your list of subscribers.
As for where you should place your opt-in form, sidebars are generally an excellent location for them. In our case, we decided to place our email signup form right on Leaving Work Behind’s homepage, so you can’t miss it. That’s an angle you can consider as well.
Do you have any questions about how to add email forms to WordPress? Ask away in the comments section below!